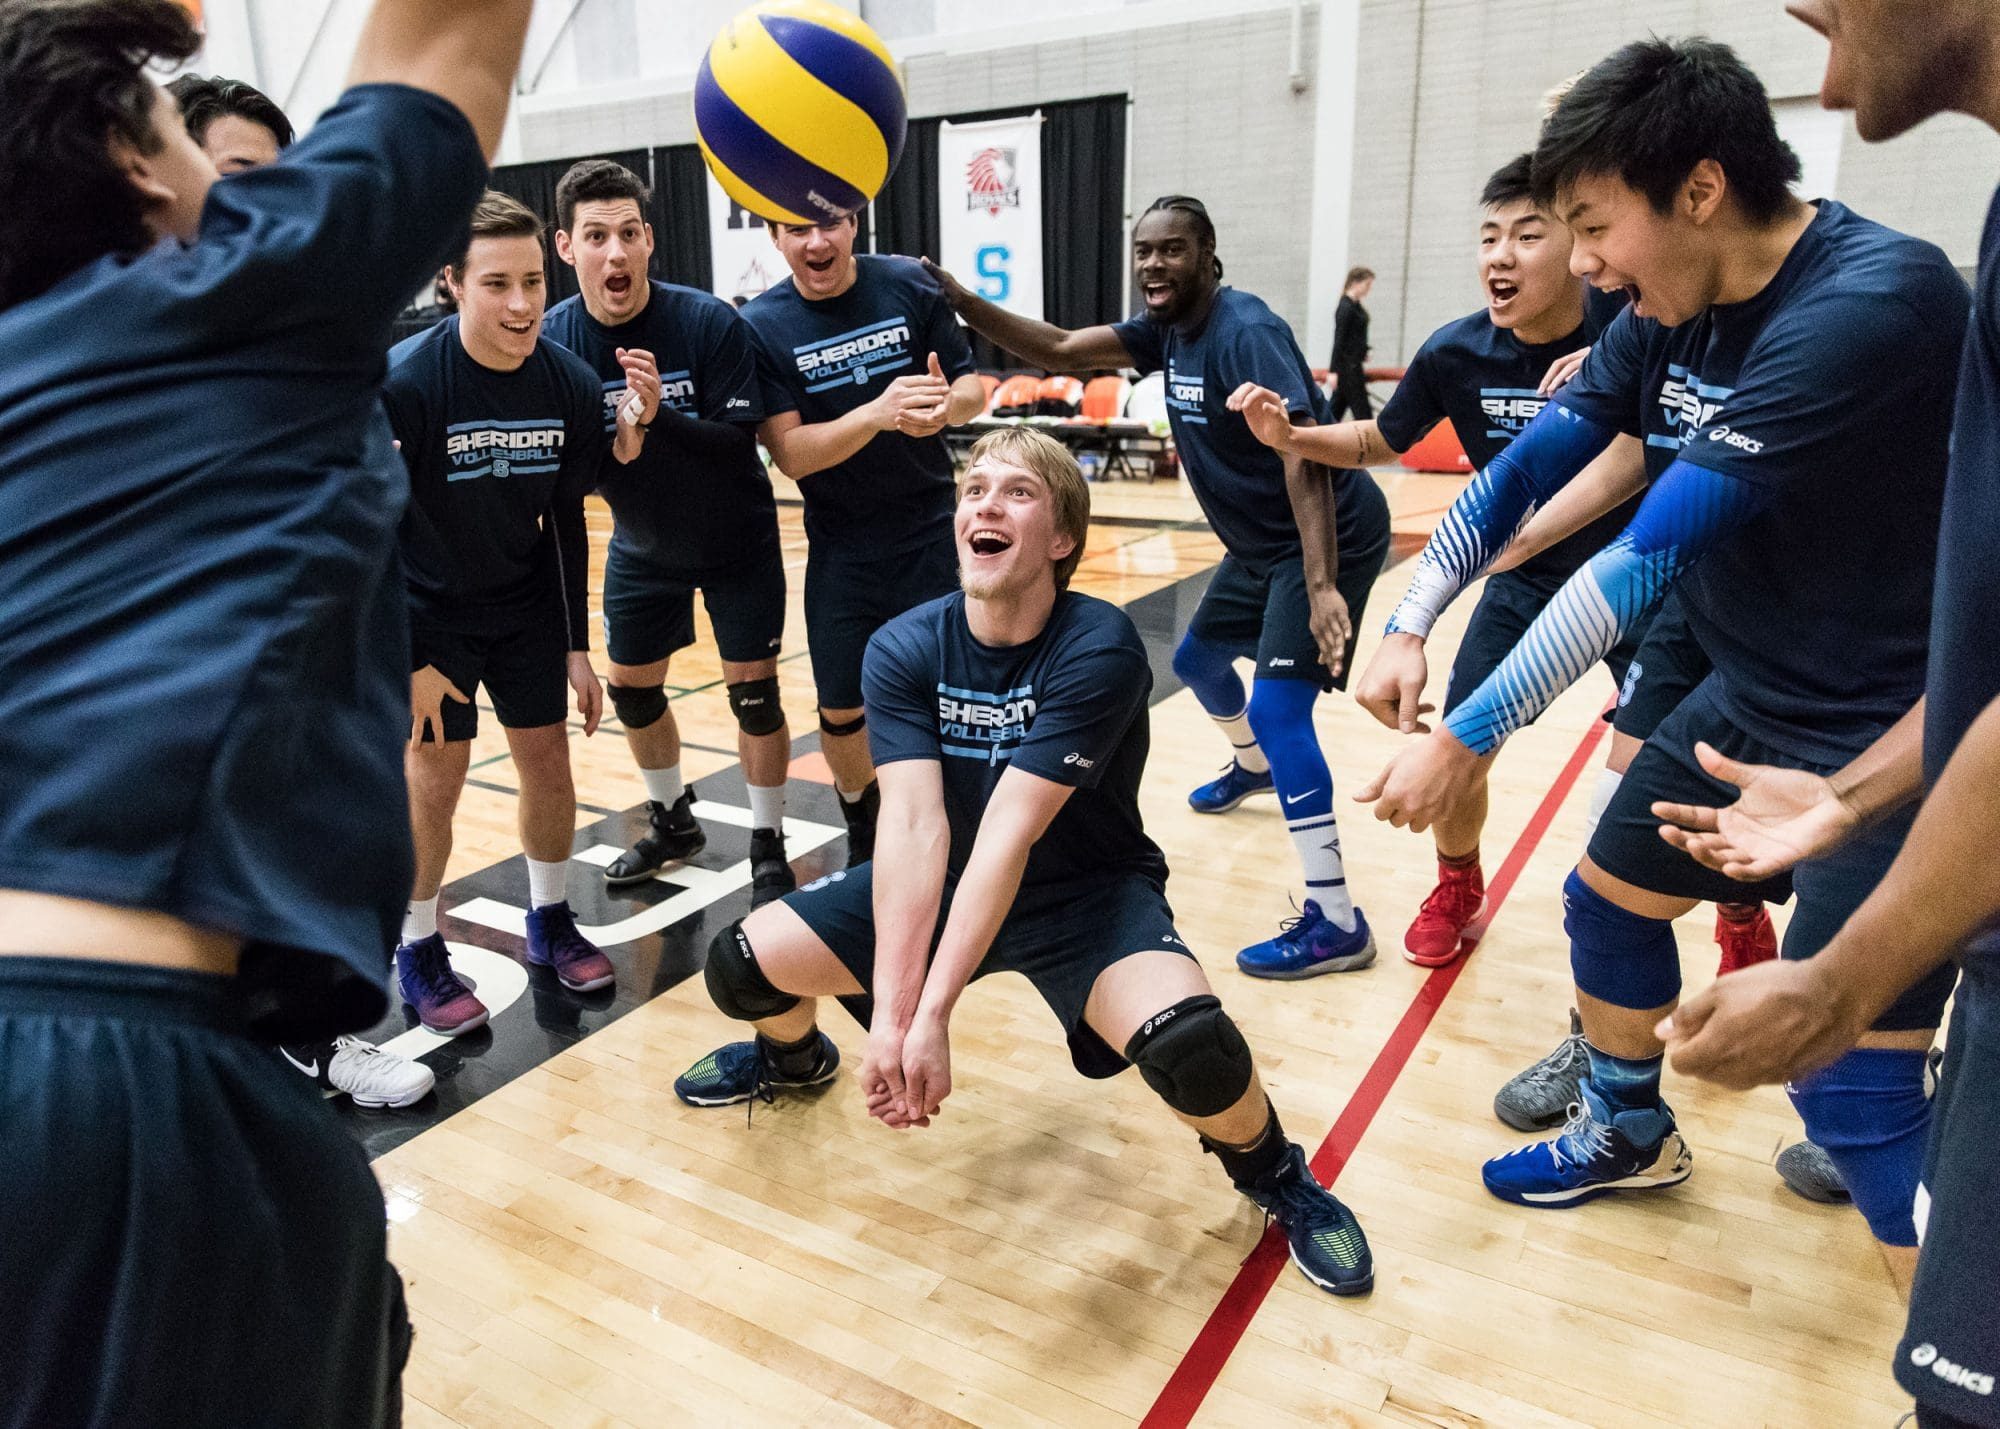
Volleyball Photography: Capturing the Best Images
Want to improve your volleyball photography? Read more about photographer positions, types of images, required equipment, and much more.
Click here to have a look at my sport photography portfolio - which includes many volleyball images!
Recommended Photo Positions
Volleyball is unquestionably one of the most challenging sports to photograph. The ball moves quickly, your shutter speed needs to be higher than usual, and the net will wreak havoc with your camera's auto-focus system.
Knowing exactly where to be, along with what you want to capture, will be critical to your success.
There are three very different places I like to frequent when shooting volleyball:
Behind the service area, just before the sideline.
In the stands, above the net.
At the attack line.
Recommended Camera Lenses
My two must-have lenses for volleyball are:
24-70mm f/2.8 Mid-Range Lens
70-200mm f/2.8 Telephoto Zoom Lens
With extra room in the bag, I would add:
16-35mm f/2.8 Wide-Angle Lens
300mm f/2.8 Prime Lens
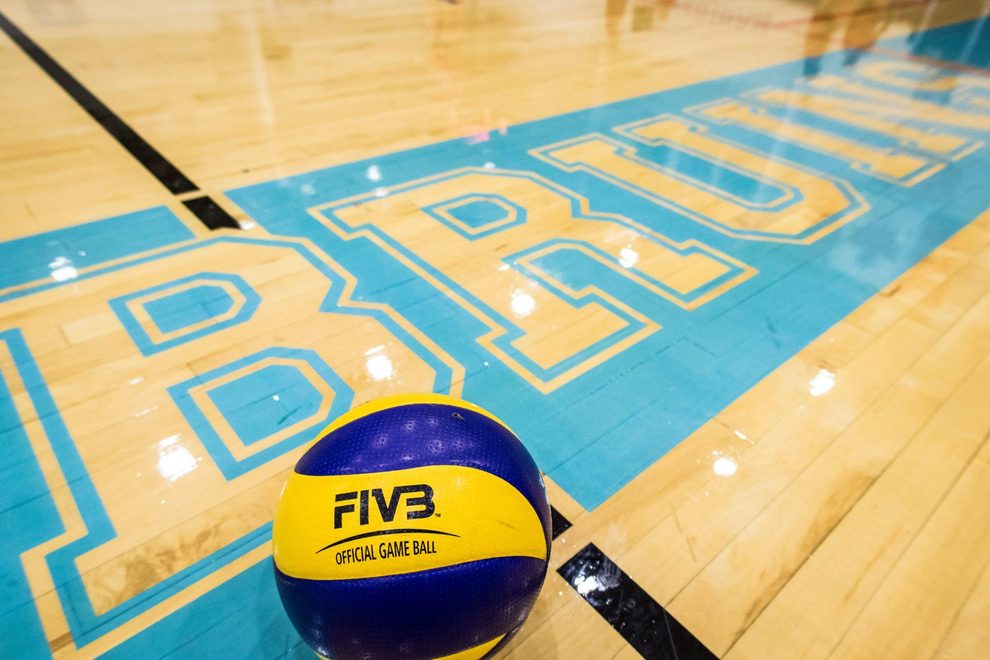
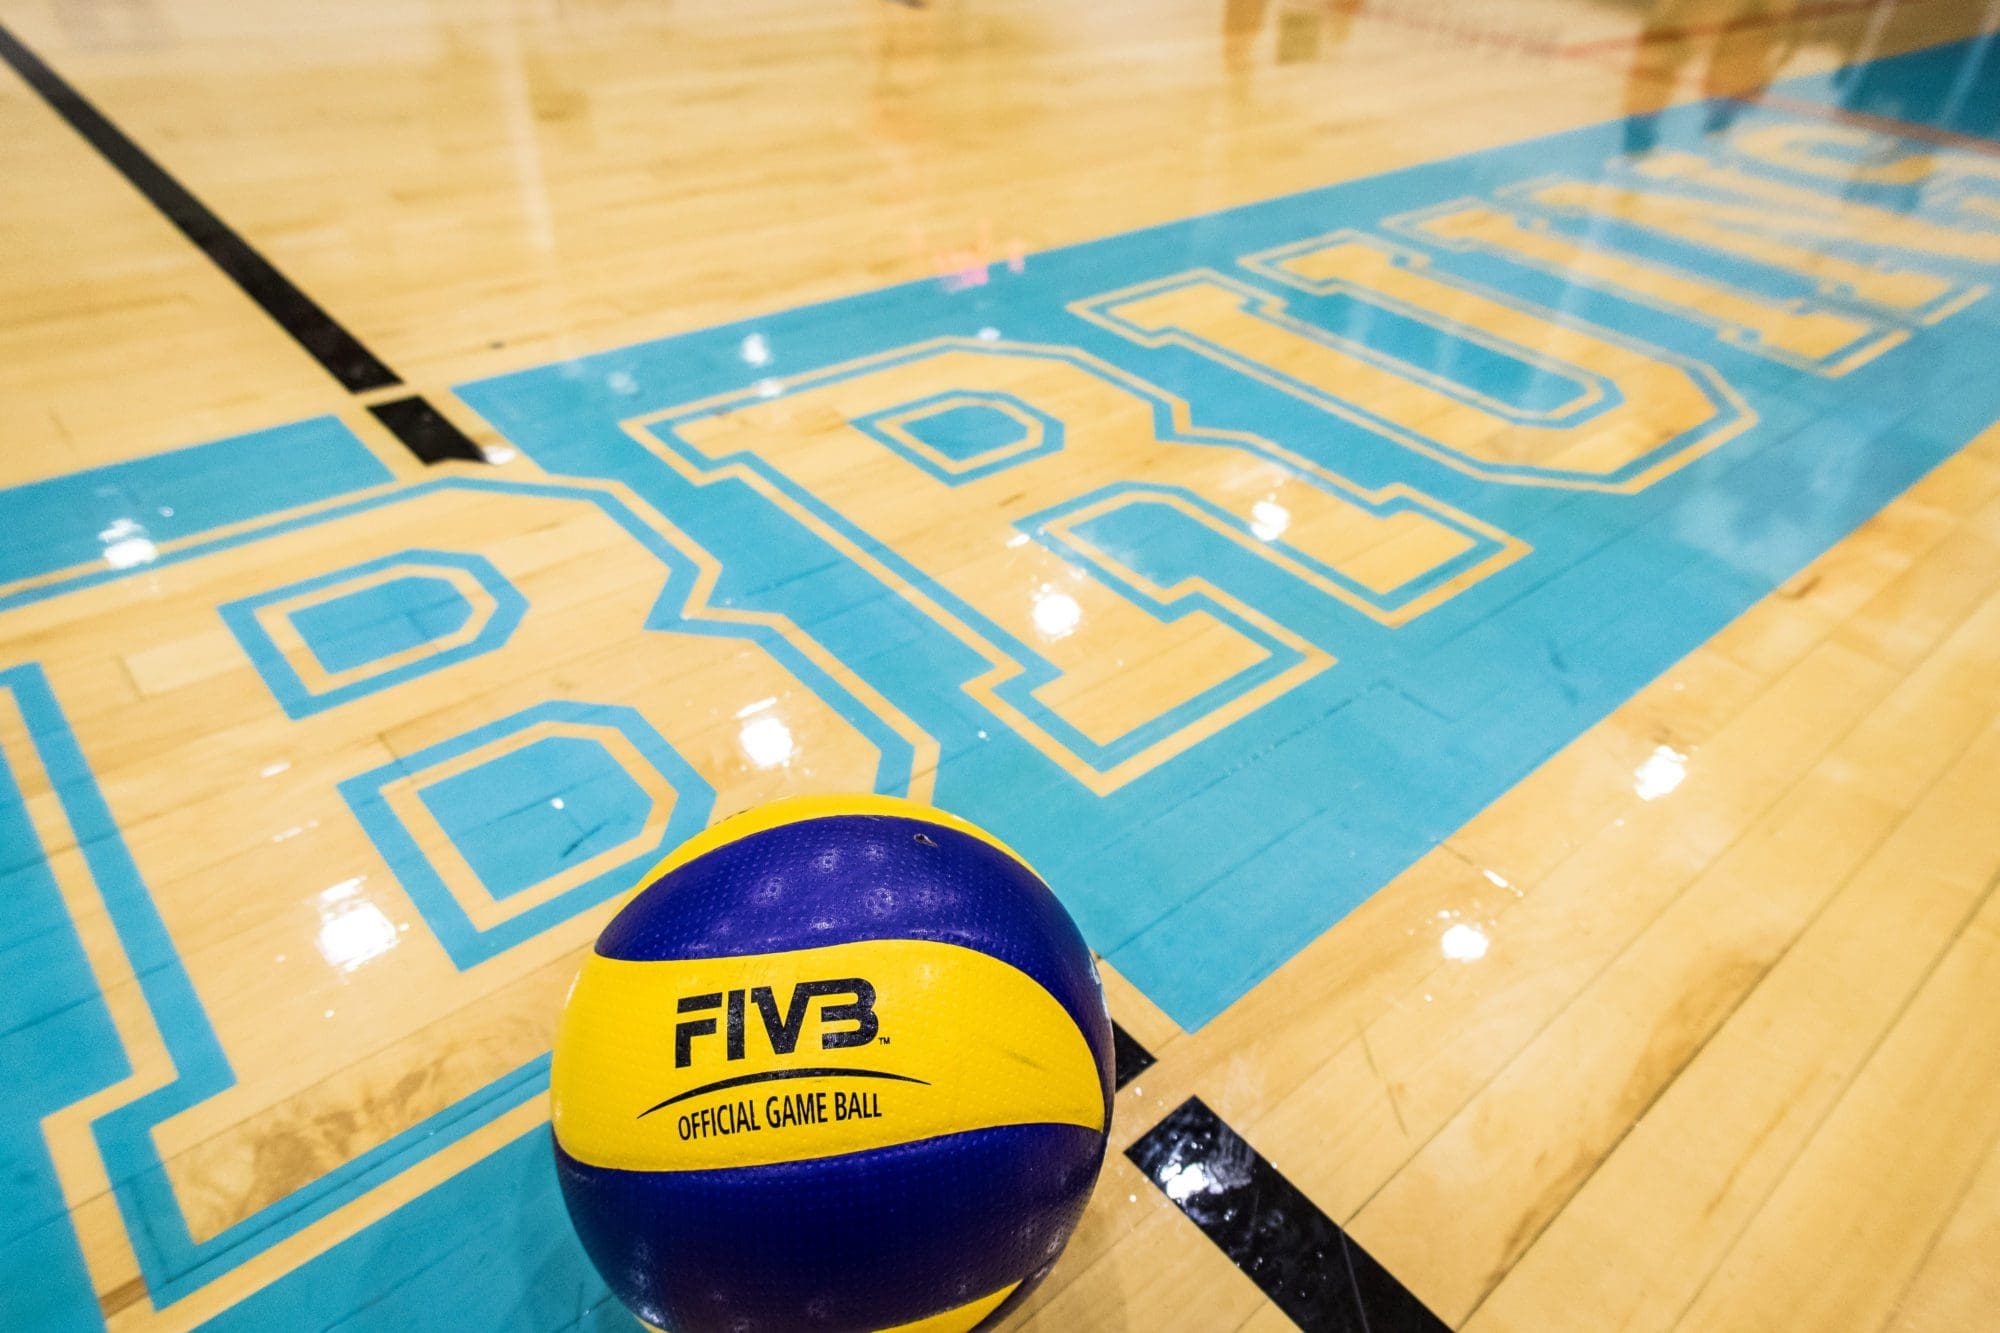
OAKVILLE, ON - Oct. 29, 2016: A volleyball sits on the court near the Sheridan Bruins' logo.
Behind the Service Area
When you're looking to capture action around the net.
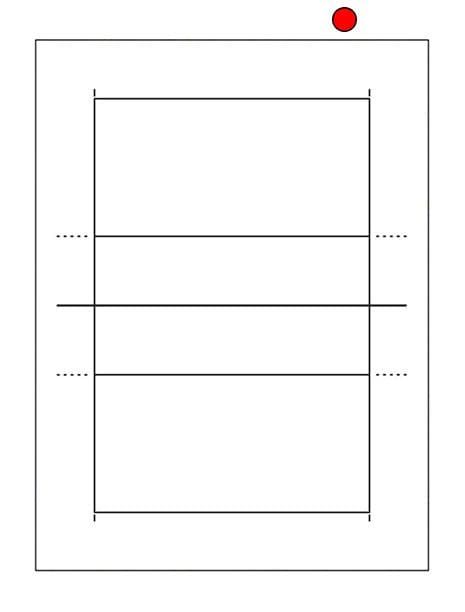
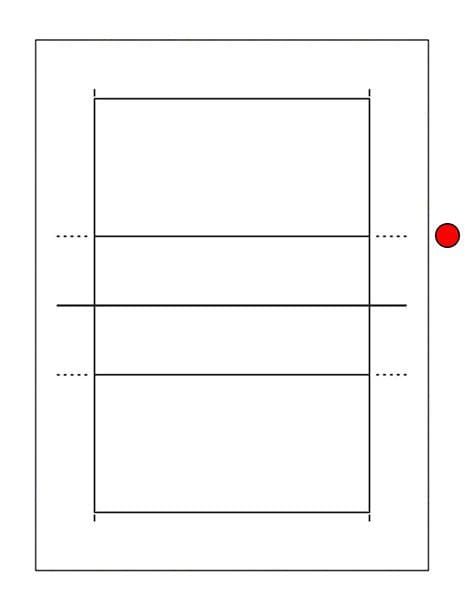
While you're welcome to experiment with your exact positioning, my recommendation is that you stay off-centre (as per the diagram). This will generally result in better framing of the attacking and defending players. As you move closer to the centre, players tend to obstruct one another from your view more frequently.
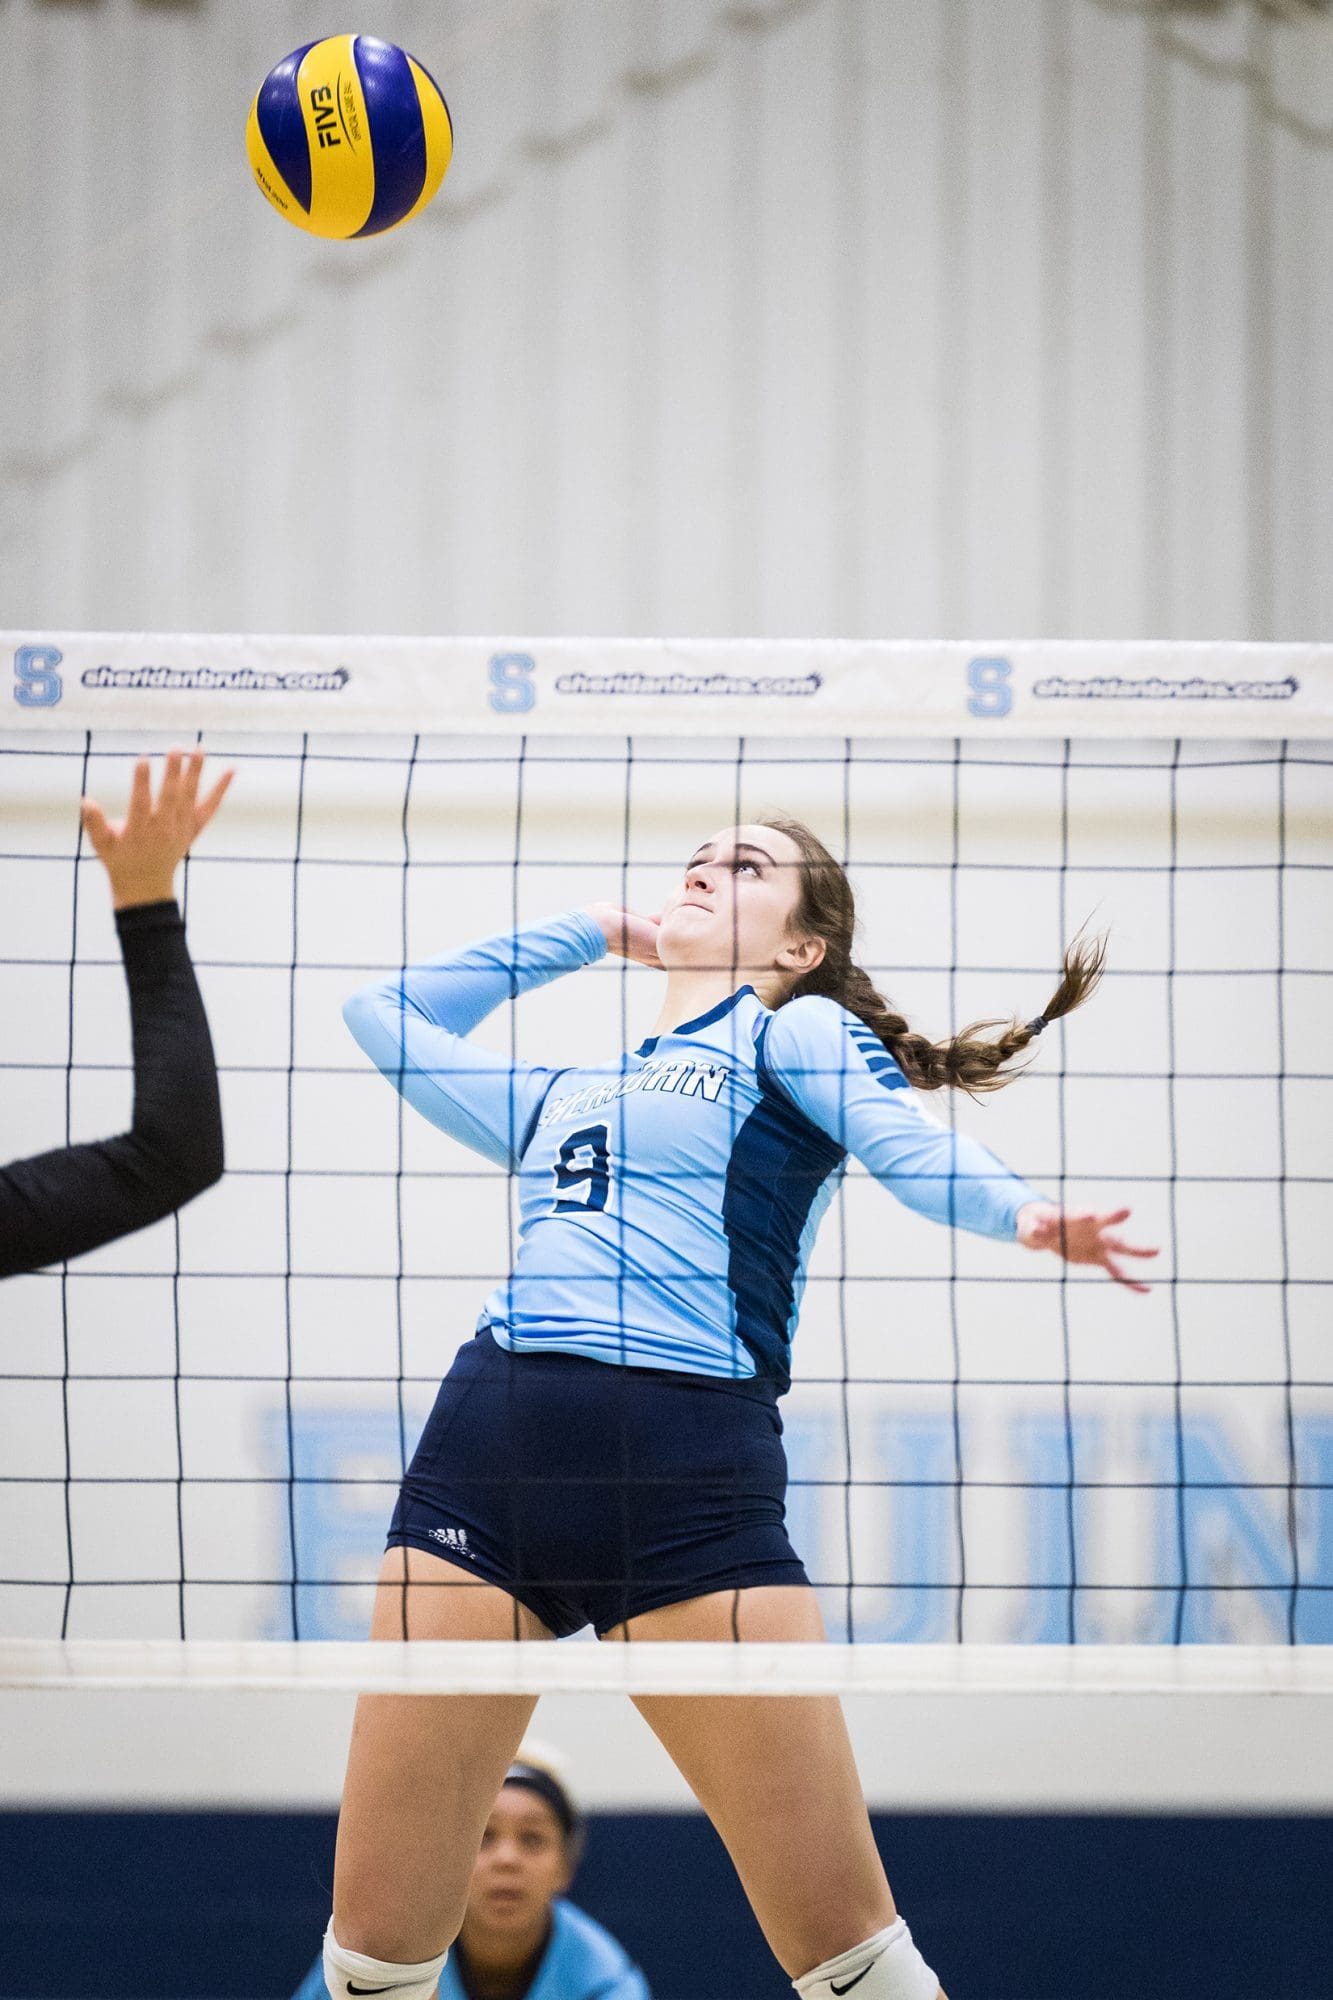
Also worth mentioning is that the net will be a major headache when shooting from this position. To work around this, my preferred technique is to shoot in portrait orientation, and manually choose an auto-focus point at the bottom of the frame. This will allow you to catch focus on the legs of each player, rather than fighting to shoot through the net.
The types of images here are not particularly diverse, but they will generally include:
Wide game shots.
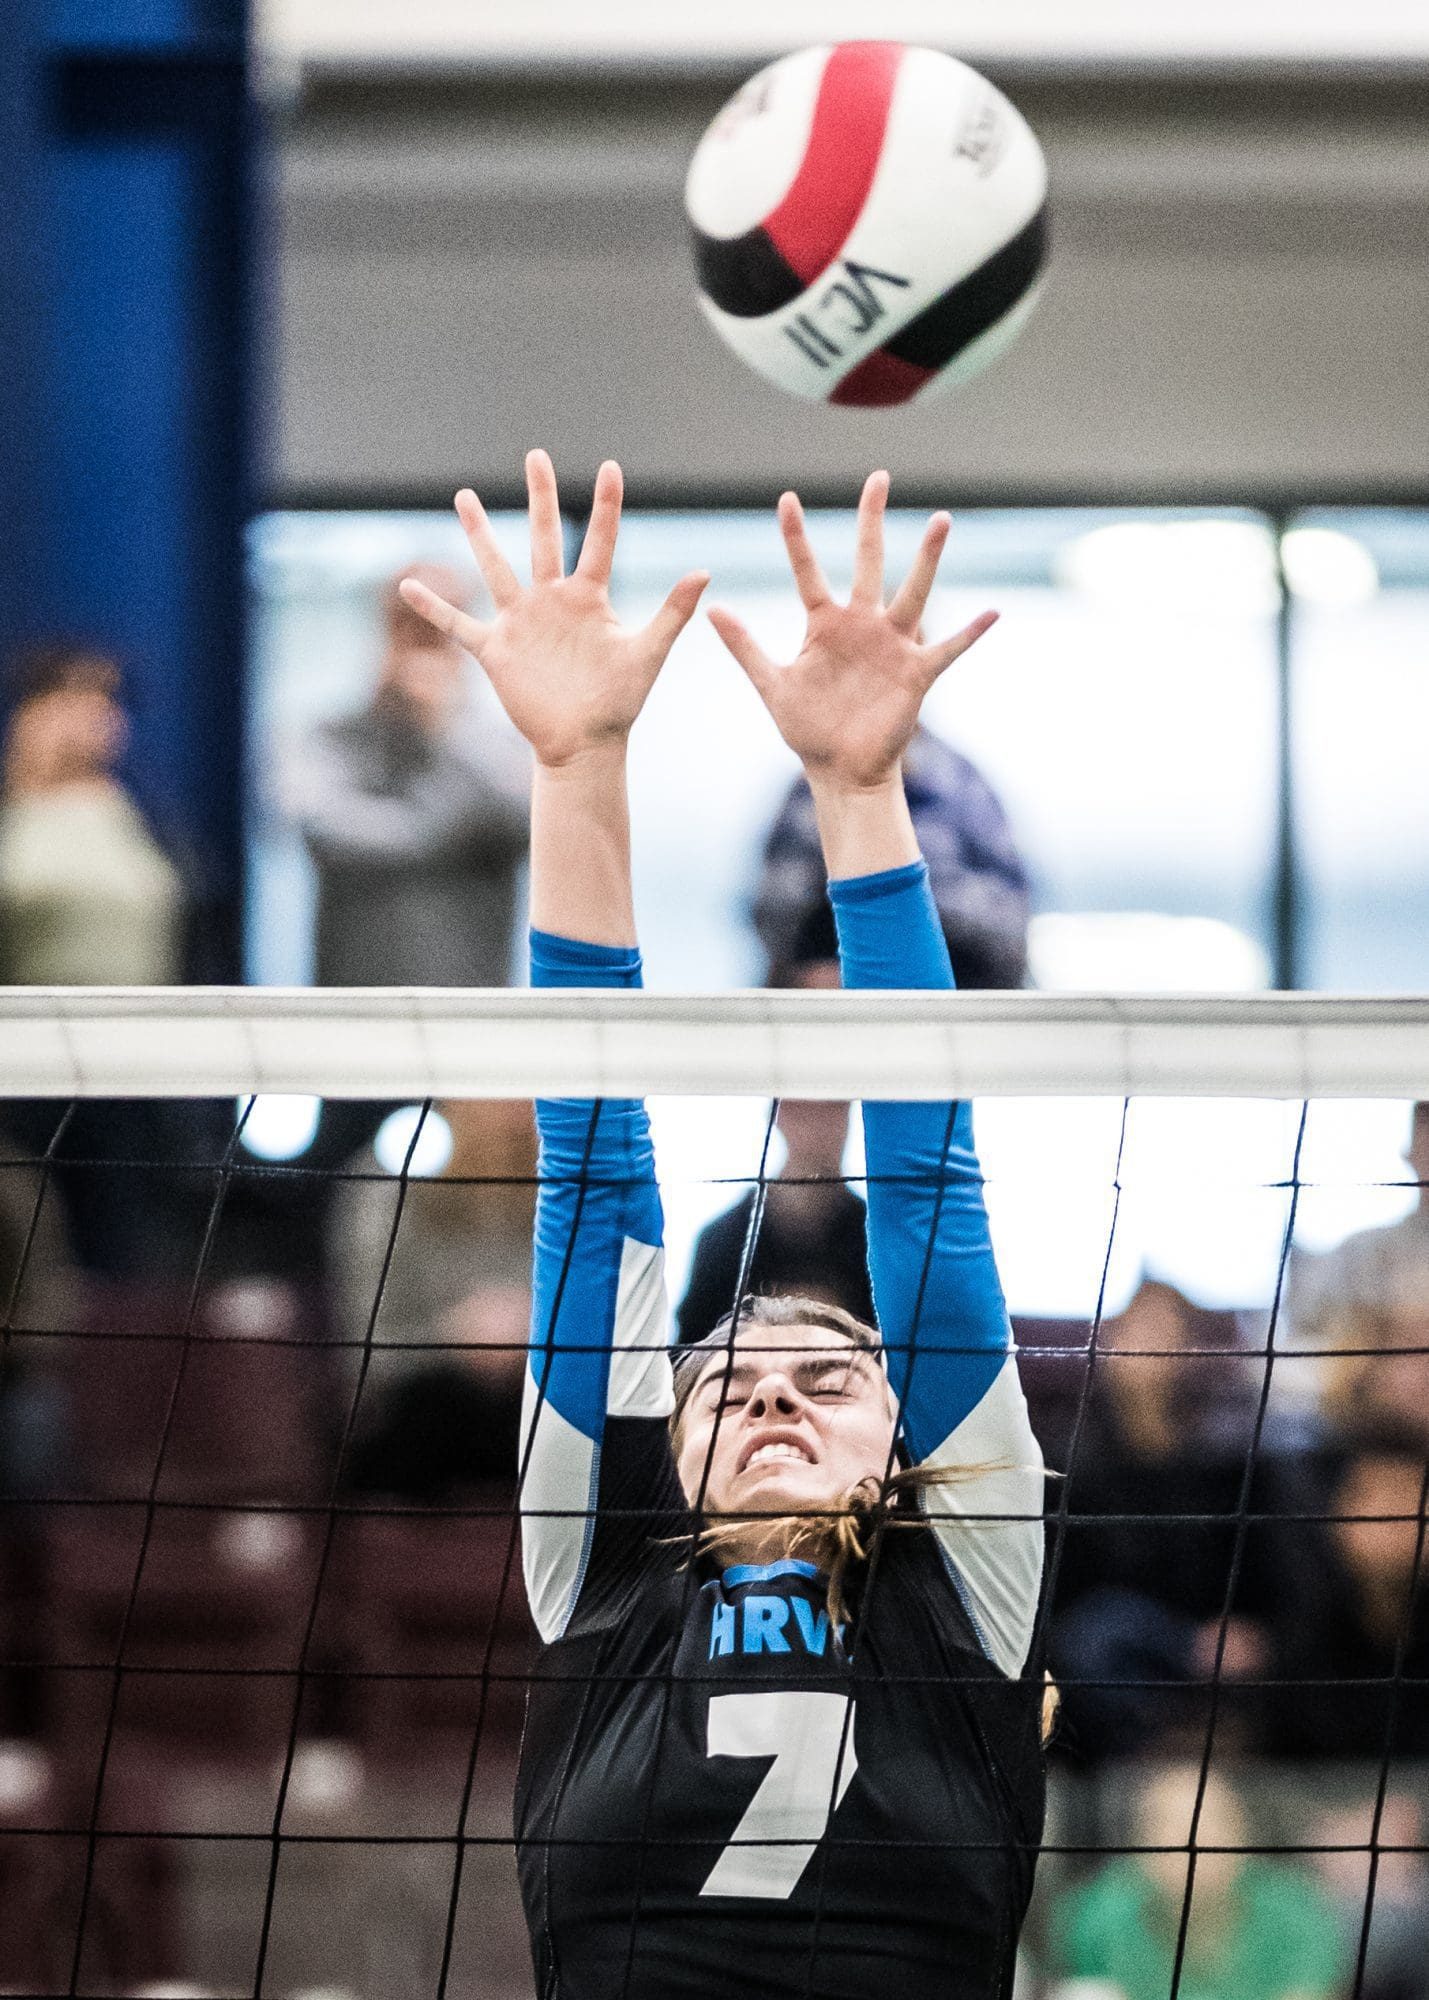
Blocks.
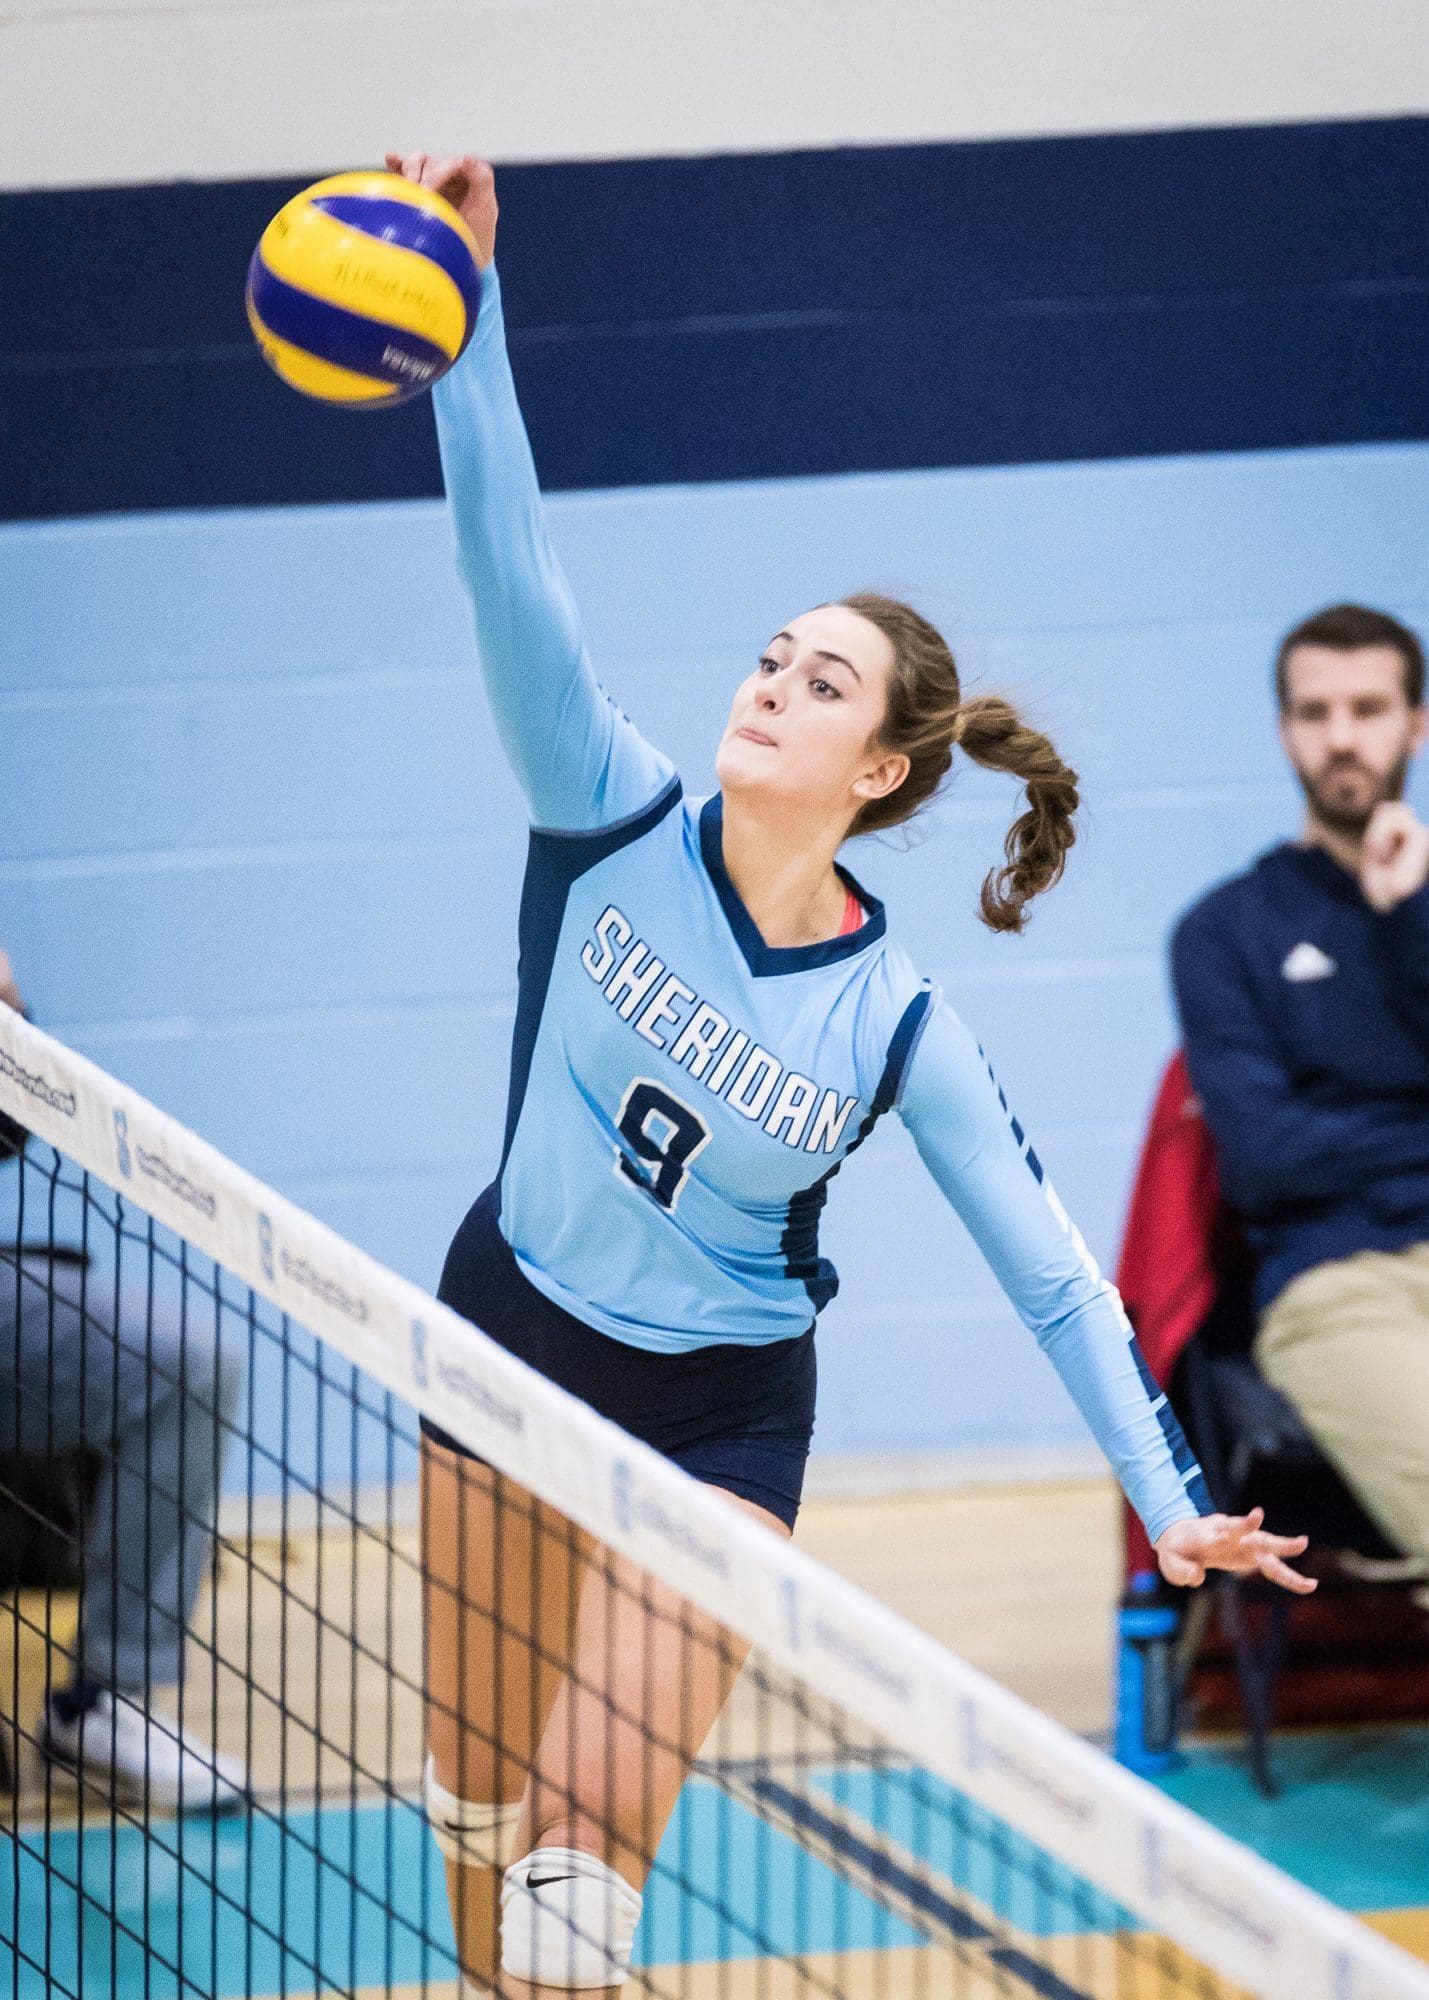
Spikes.
Wide Game Shots
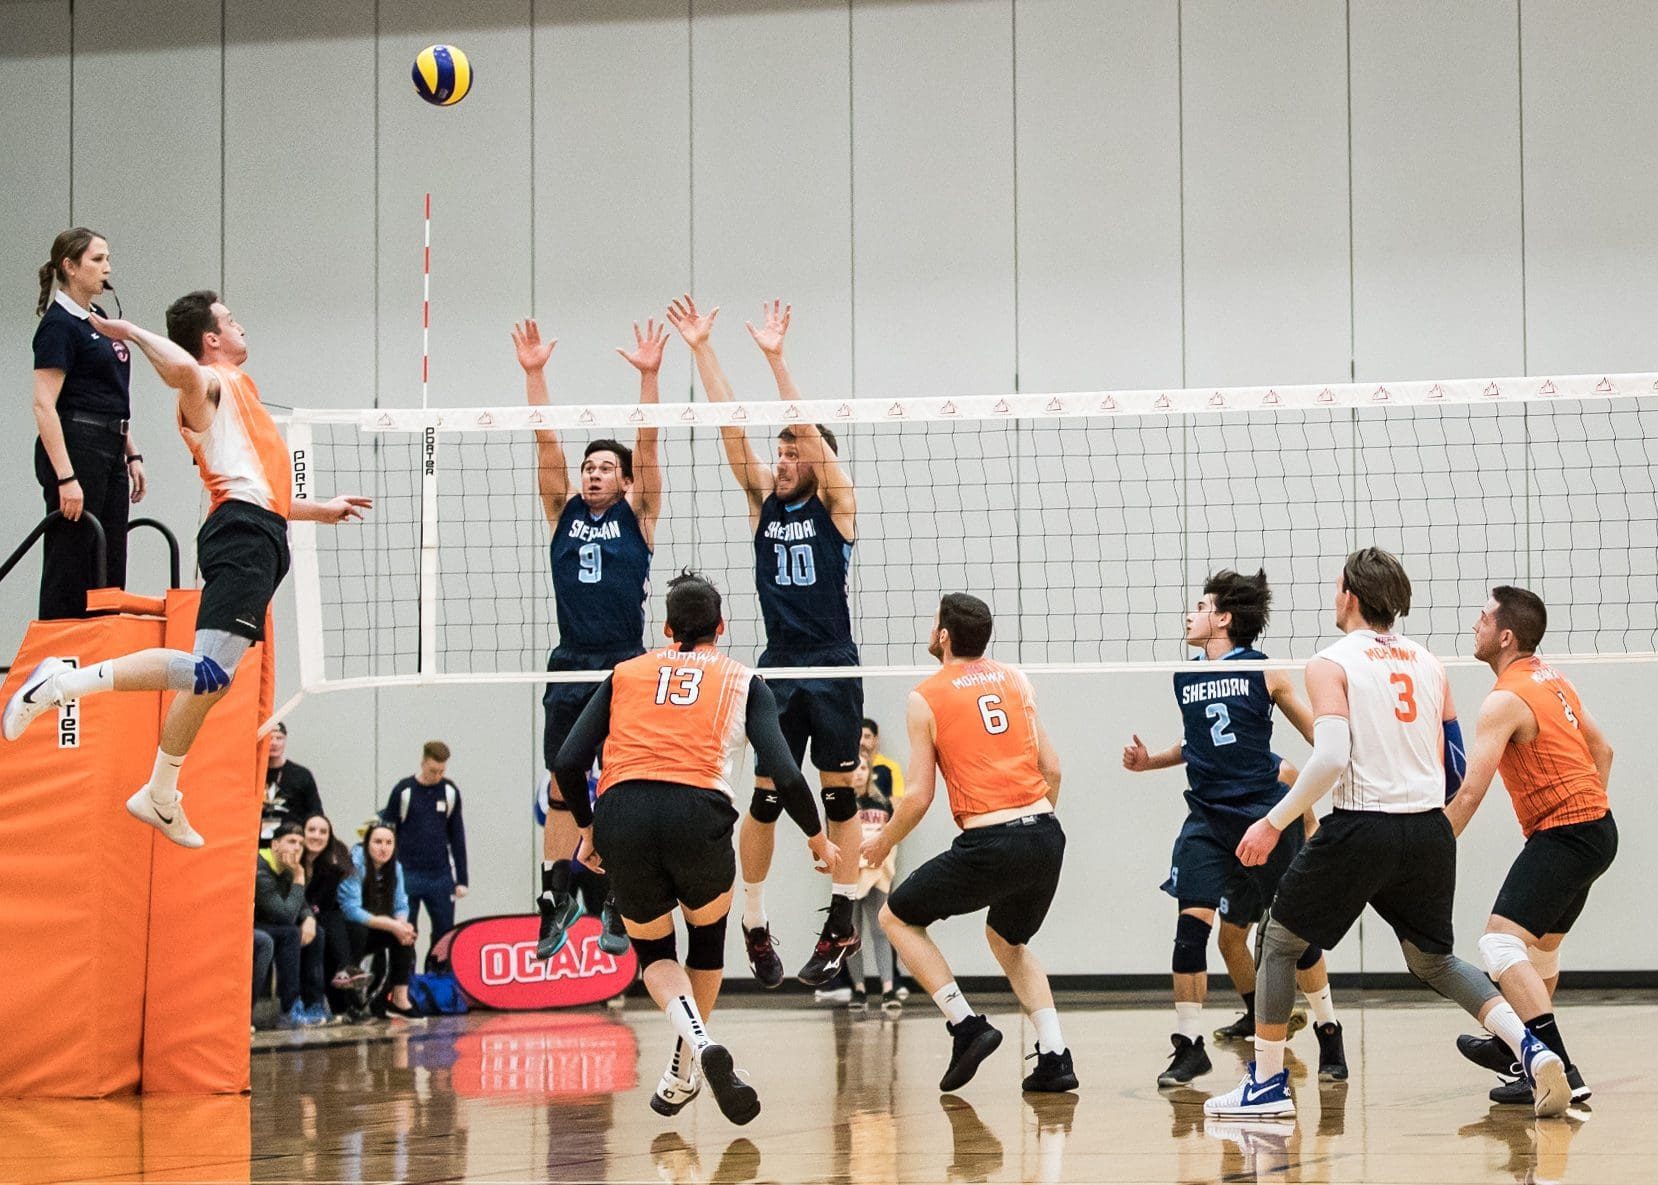
Blocks
Spikes
In the Stands
Great spot for capturing action above the net.
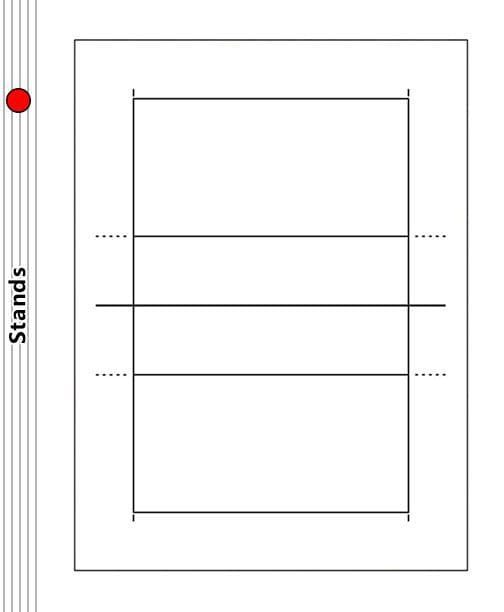
The diagram to the right depicts my preferred position - but with volleyball being such a vertical game, just about anywhere that elevates you above the net will look great.
Even from this position, you'll find that the net will occasionally get in your way. You may need to shoot in portrait orientation, and manually choose an auto-focus point at the bottom of the frame. This will allow you to catch focus on the legs of each player, rather than fighting to shoot through the net.
The types of images here will generally include:
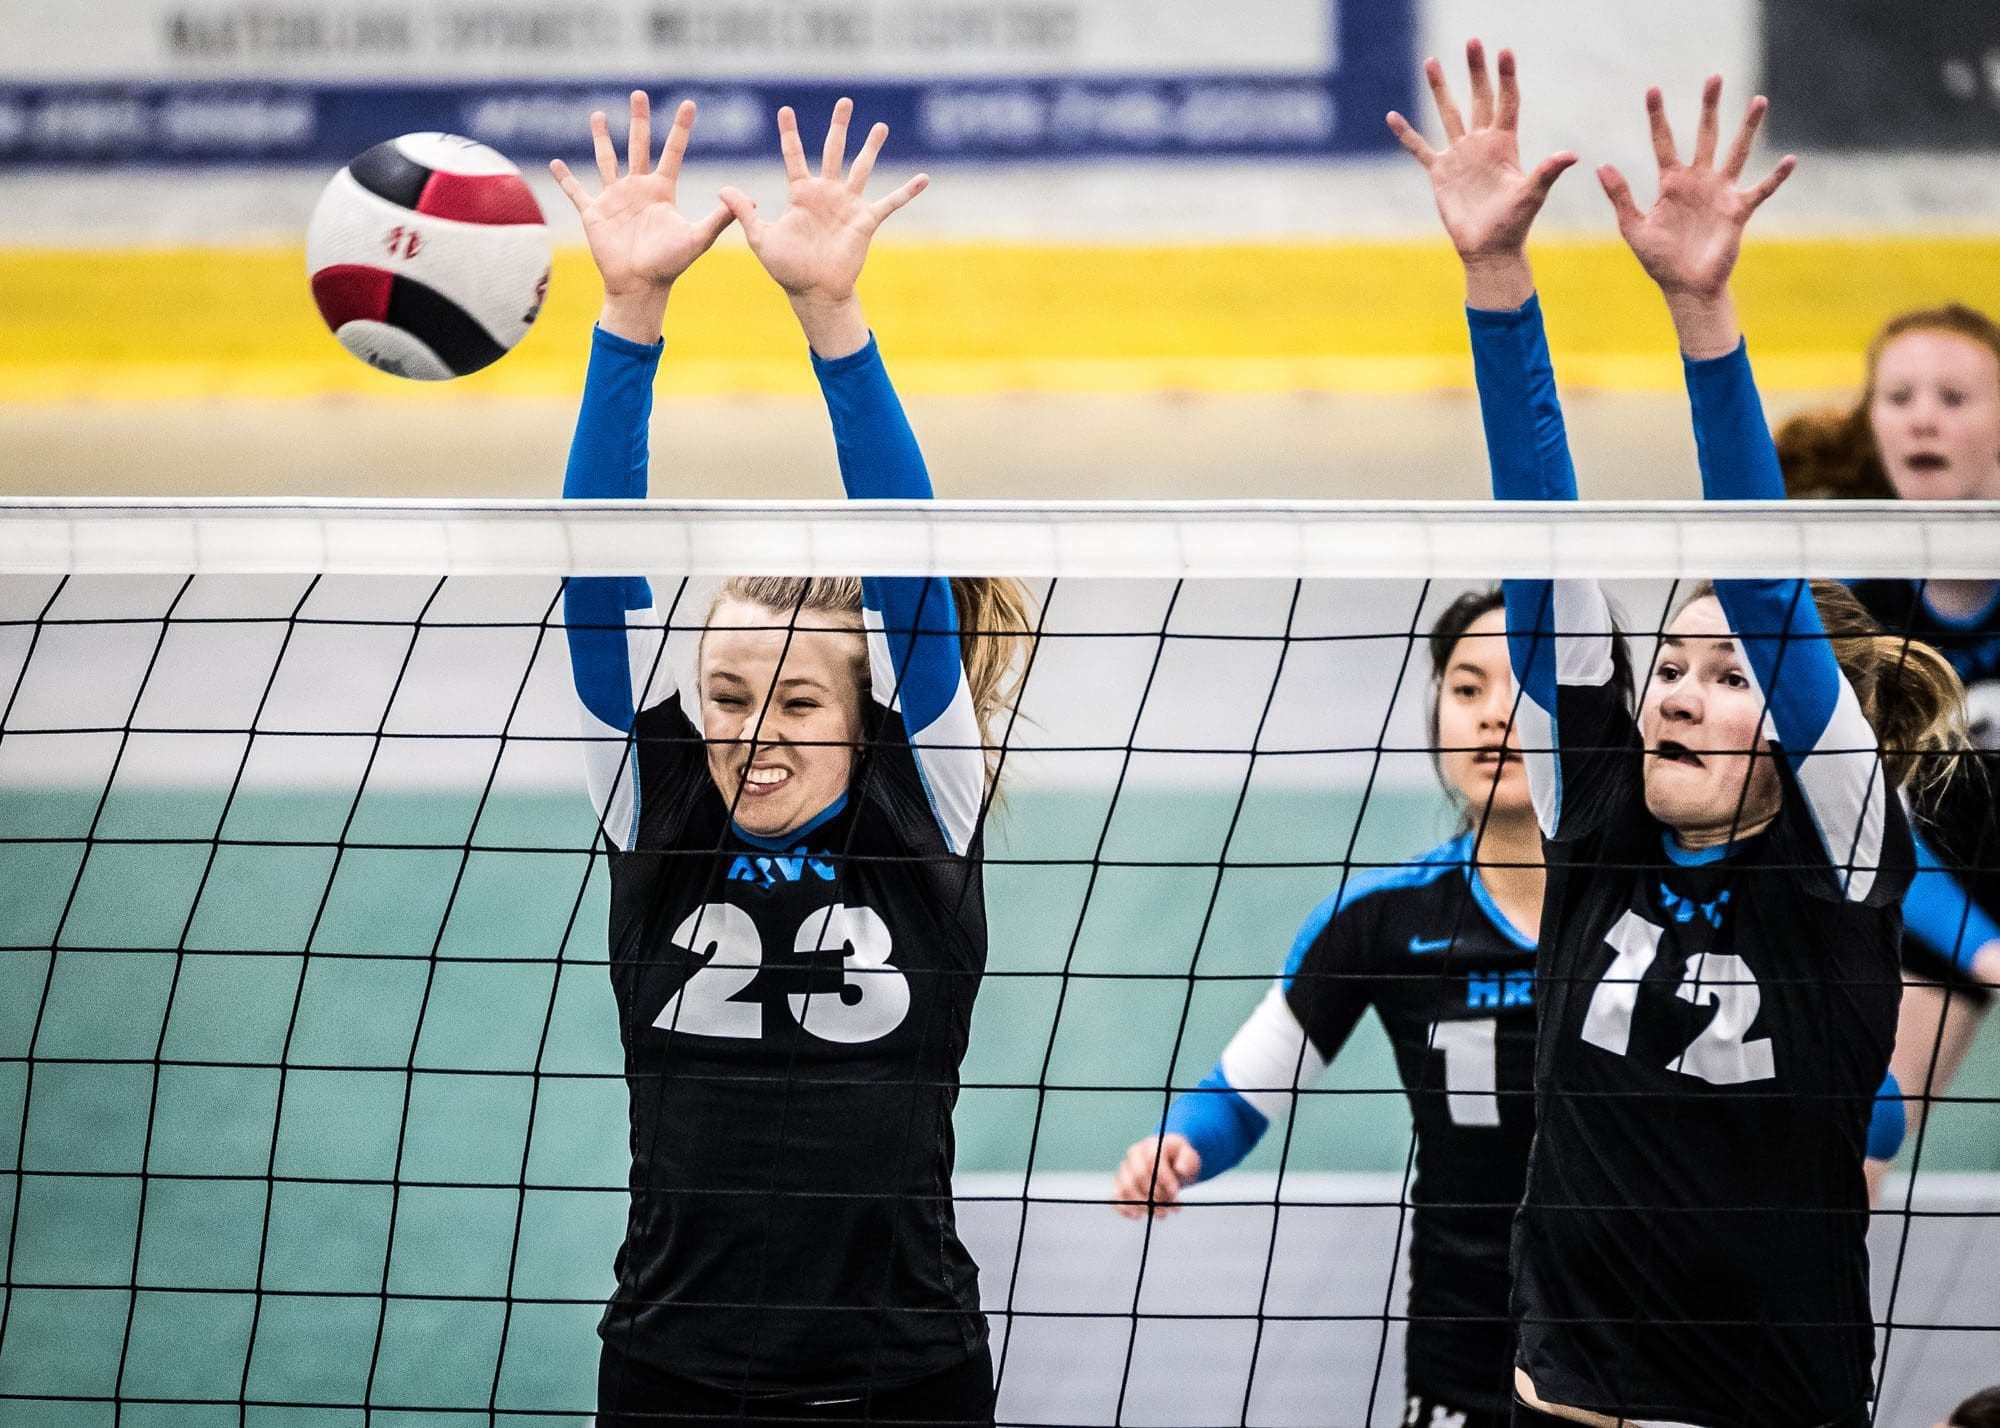
Blocks.
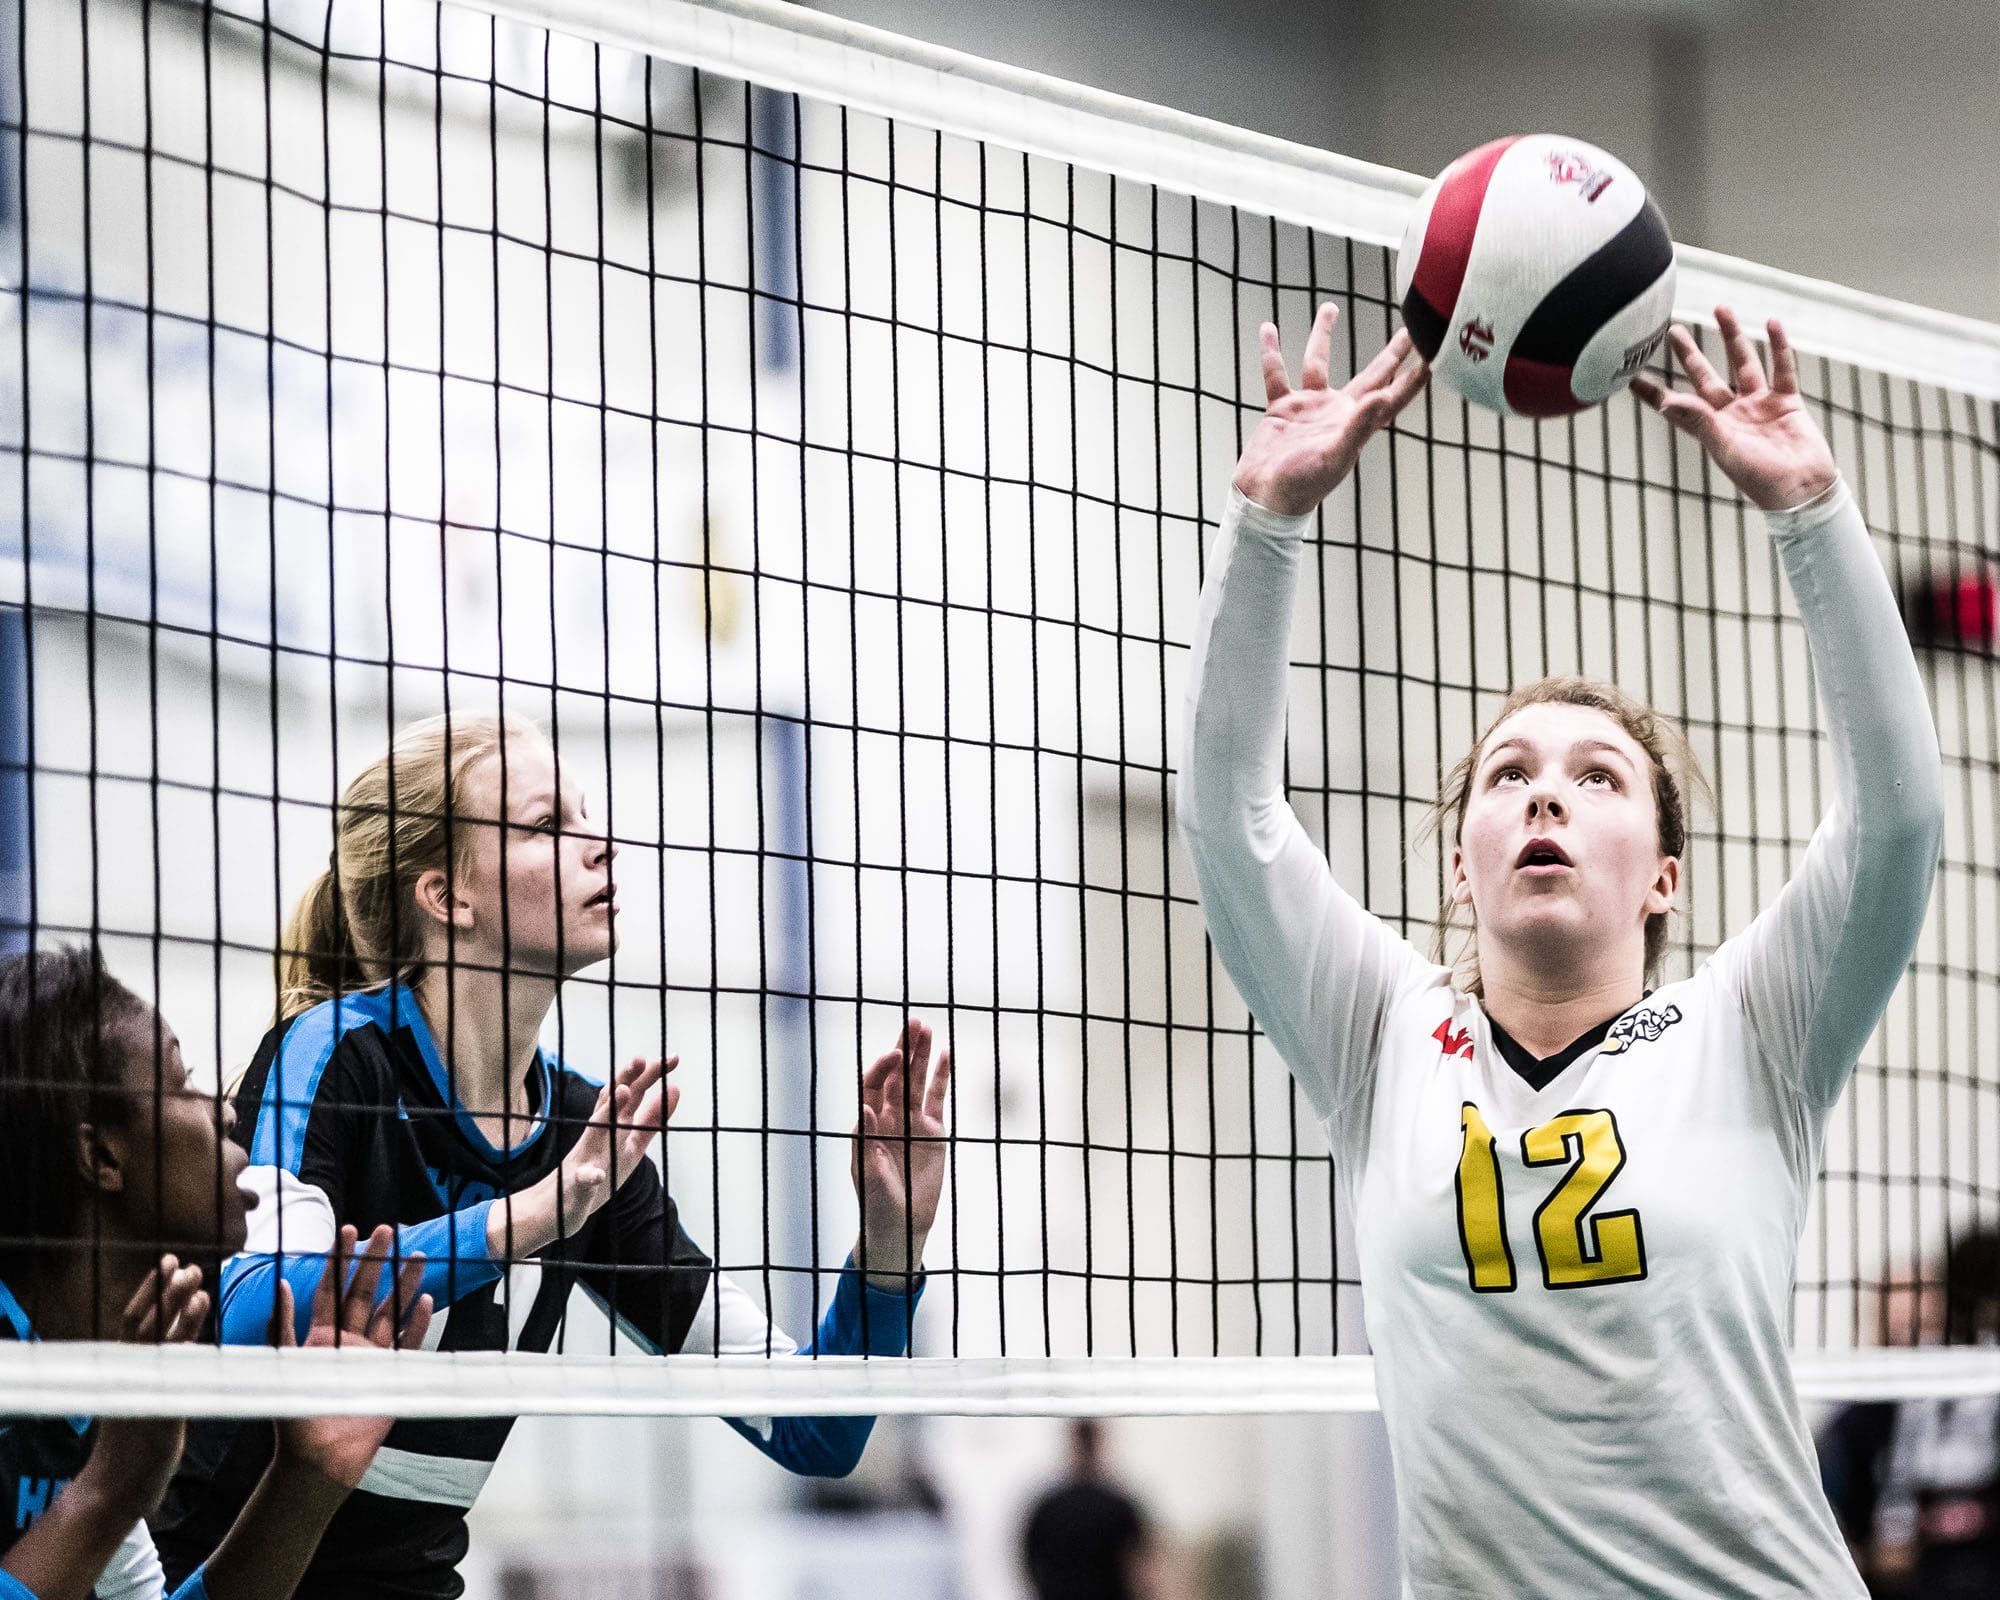
Assists.
Spikes.
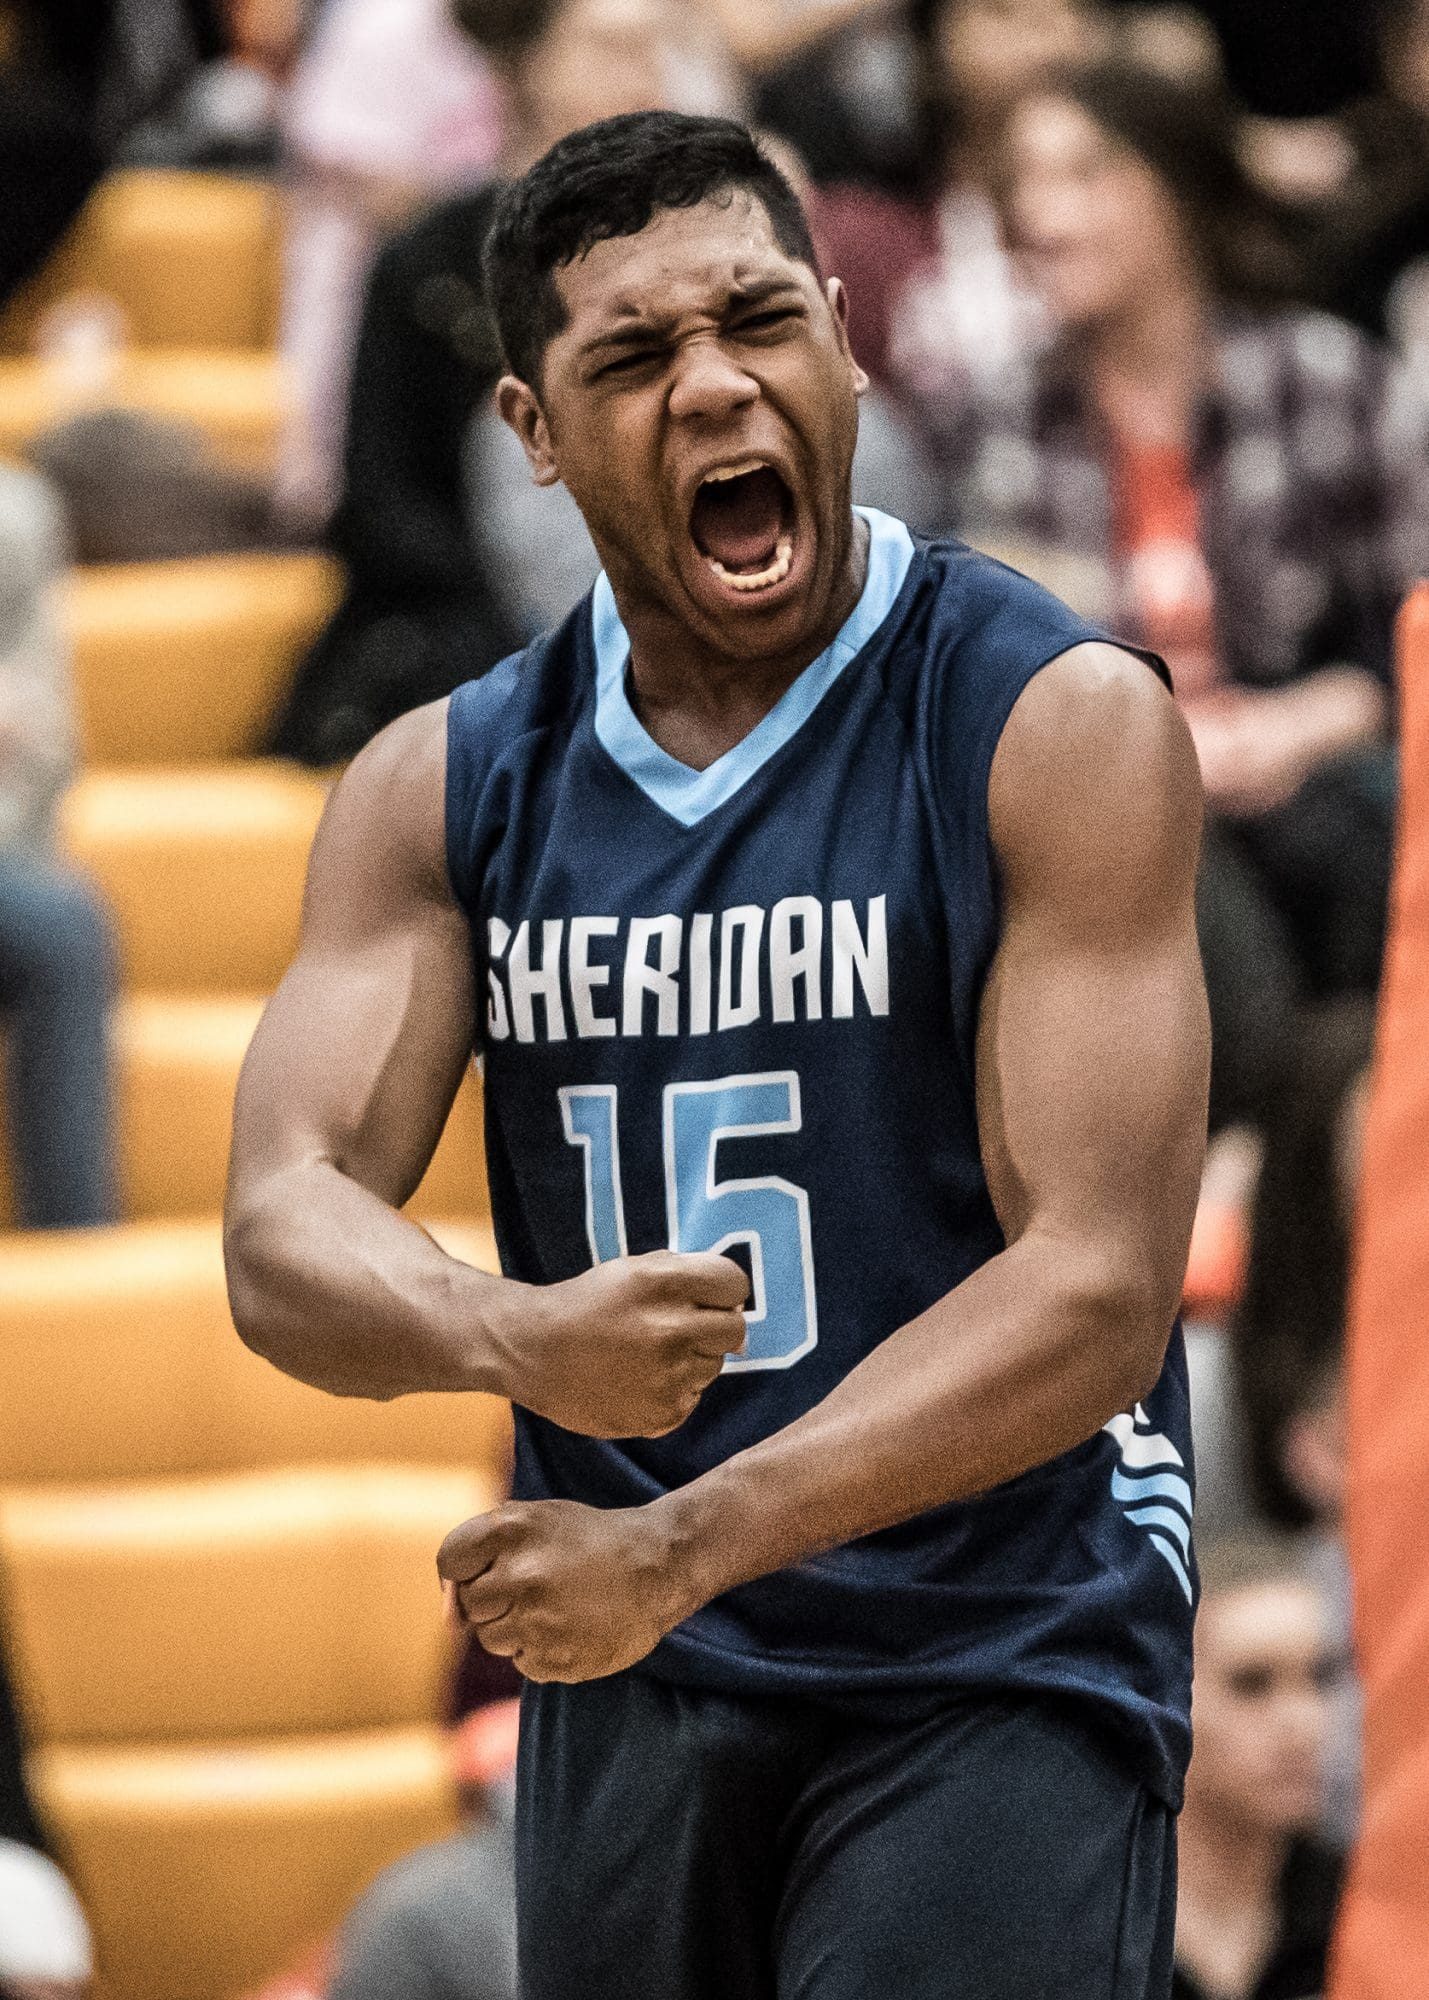
Player reactions.
Blocks
Spikes
Player Reactions
Attack Line
When you're looking for reactions and challenging action shots.
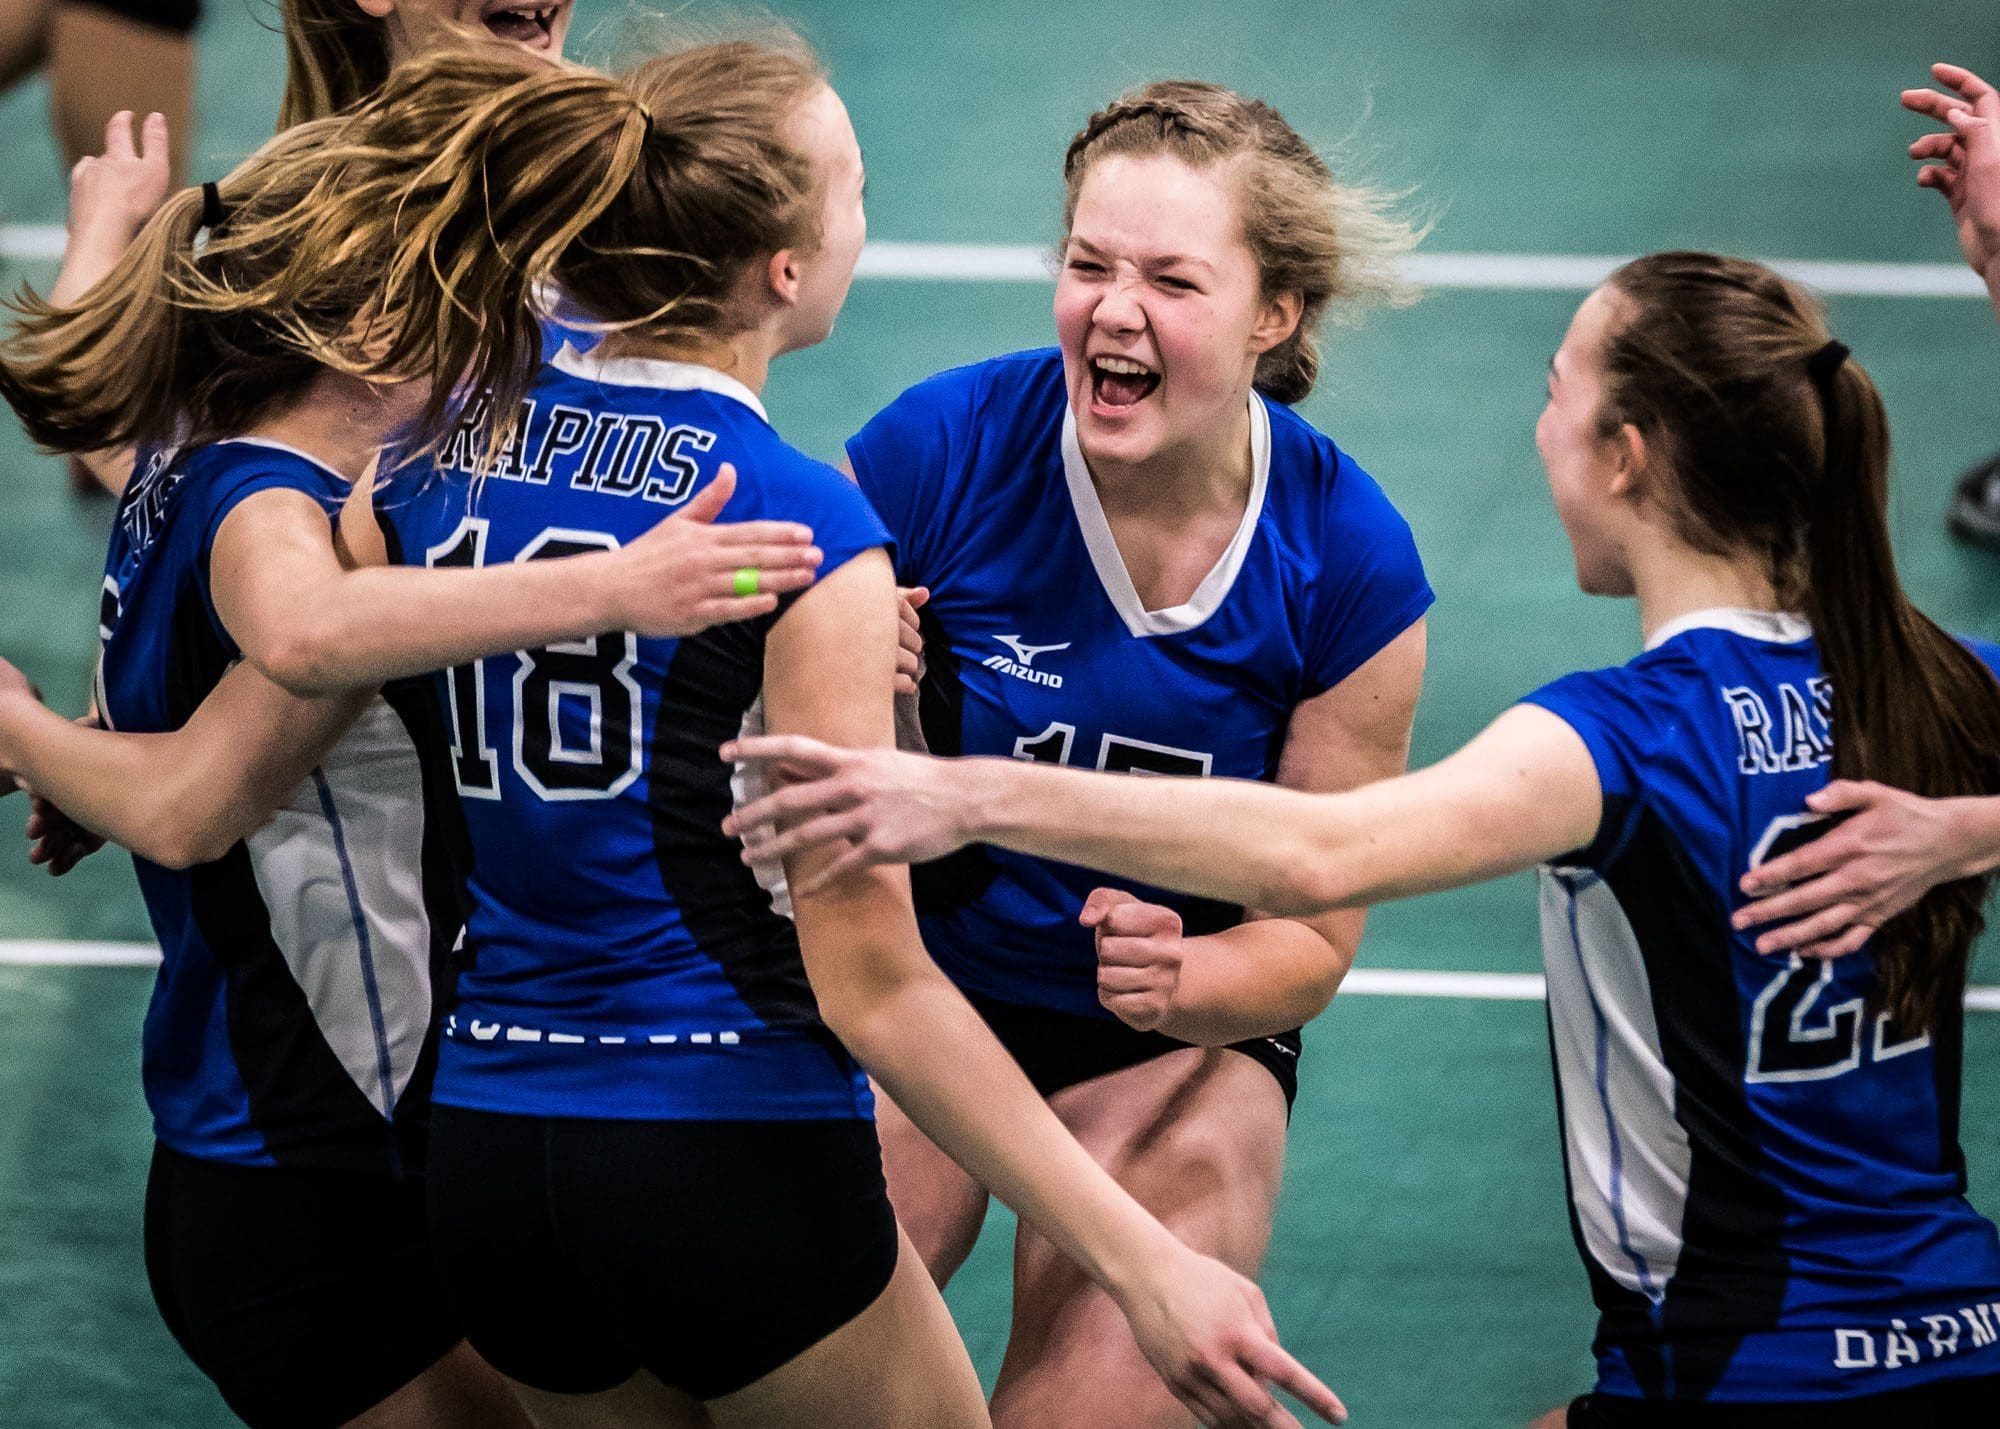
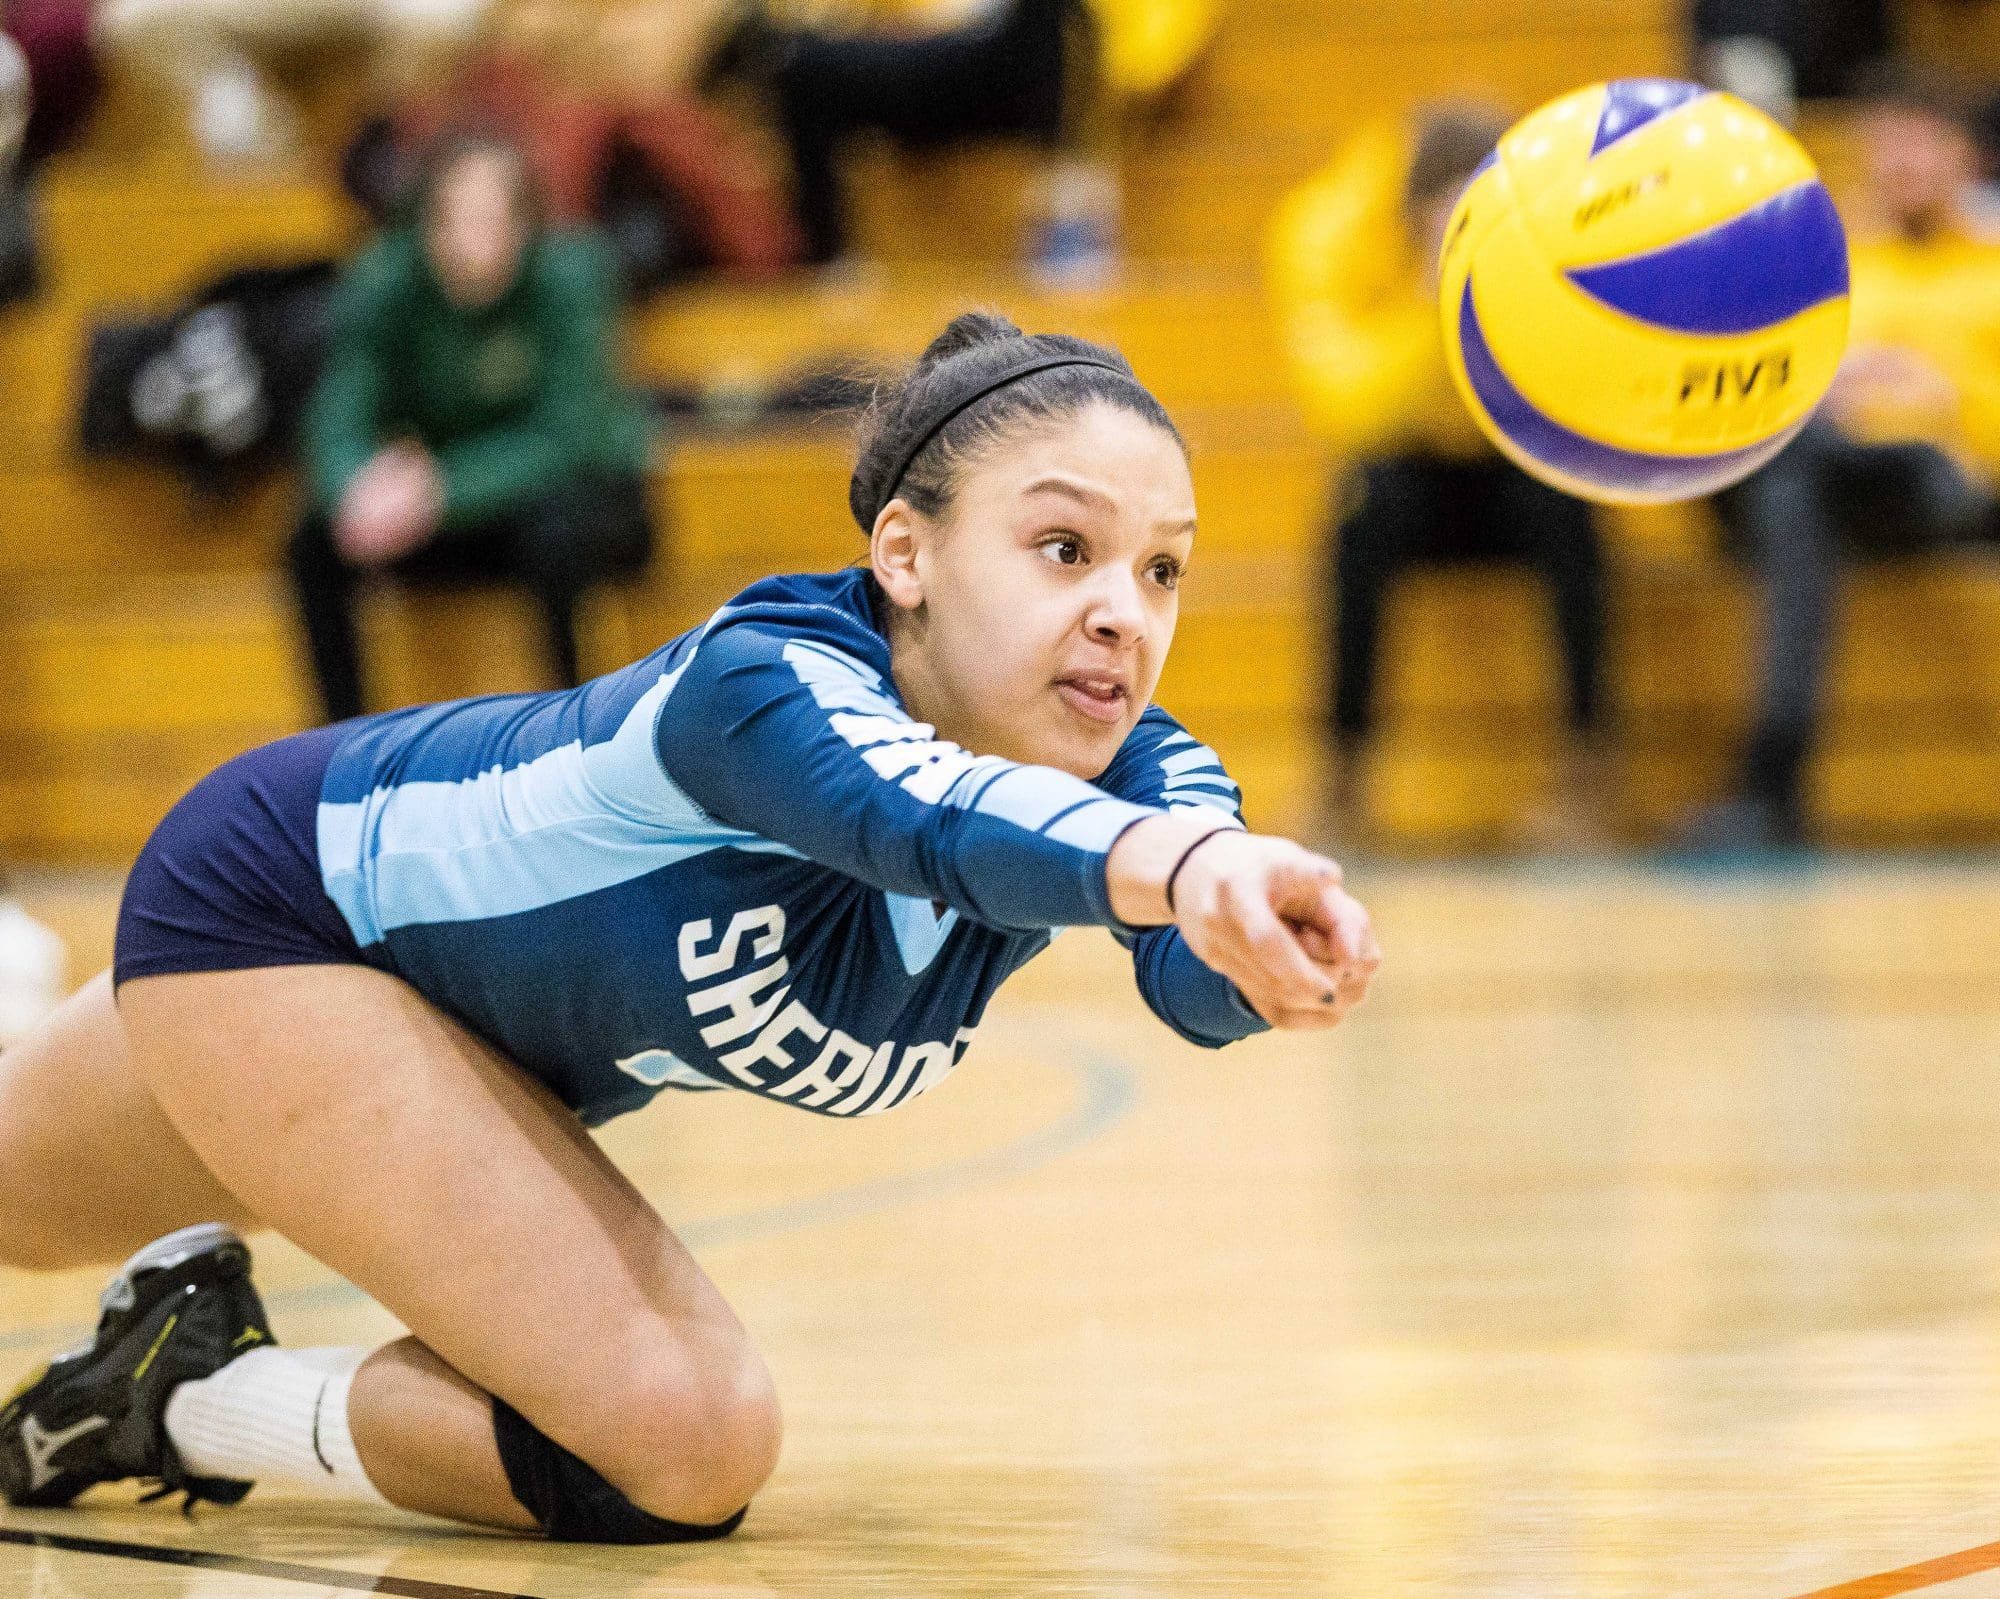
You're no longer behind one of the teams, enabling you to capture digs and defensive action very effectively. Additionally, athletes on the opposite side of the court will turn toward you to celebrate with their team at the end of a play, making this the best place to capture reactions.
To succeed, you'll require a sound knowledge of the game. In most cases, you'll have only a split-second to react.
On serves, one trick is to keep a close eye on the opposing coach. They will hide their hand behind a clipboard, and signal their server between '1' and '6' (with '6' being a fist).
Area 1: Back Left
Area 2: Front Left
Area 3: Front Centre
Area 4: Front Right
Area 5: Back Right
Area 6: Back Centre
If you spot this signal, you'll have a good idea where the ball should be going. You can then pre-focus the shot on the player in question.
The types of images here will generally include:
Digs/bumps.
Assists.
Player reactions.
Digs/Bumps
Assists
Player Reactions
How to Spend Your Time
Volleyball games can be over in a flash - especially when one team is crushing the other.
Plan for a sweep in every game, and get your critical shots immediately. Assuming five sets, spend your time as follows:
Set #1: Behind the Service Area
Your key action photographs will come here. Be sure to get this out of the way at the beginning of every game.
By the second set, you should have a good feel for how quickly the game is moving. Spend a bit of time in the stands, and move to the attack line if a sweep is pending.
If the game is looking like a sweep, move back behind the service area for a few more key action photographs, and ensure you end the game at the attack line for key reaction shots.
Use your discretion to fill in the gaps, but always end the game at the attack line for key reaction shots!
Other Suggestions
While there are undoubtedly spots around the court that will consistently produce great photographs, you shouldn't hesitate to experiment and move around.
I've included some miscellaneous images below, in the hopes of triggering your creative thought process.
Ball on Court
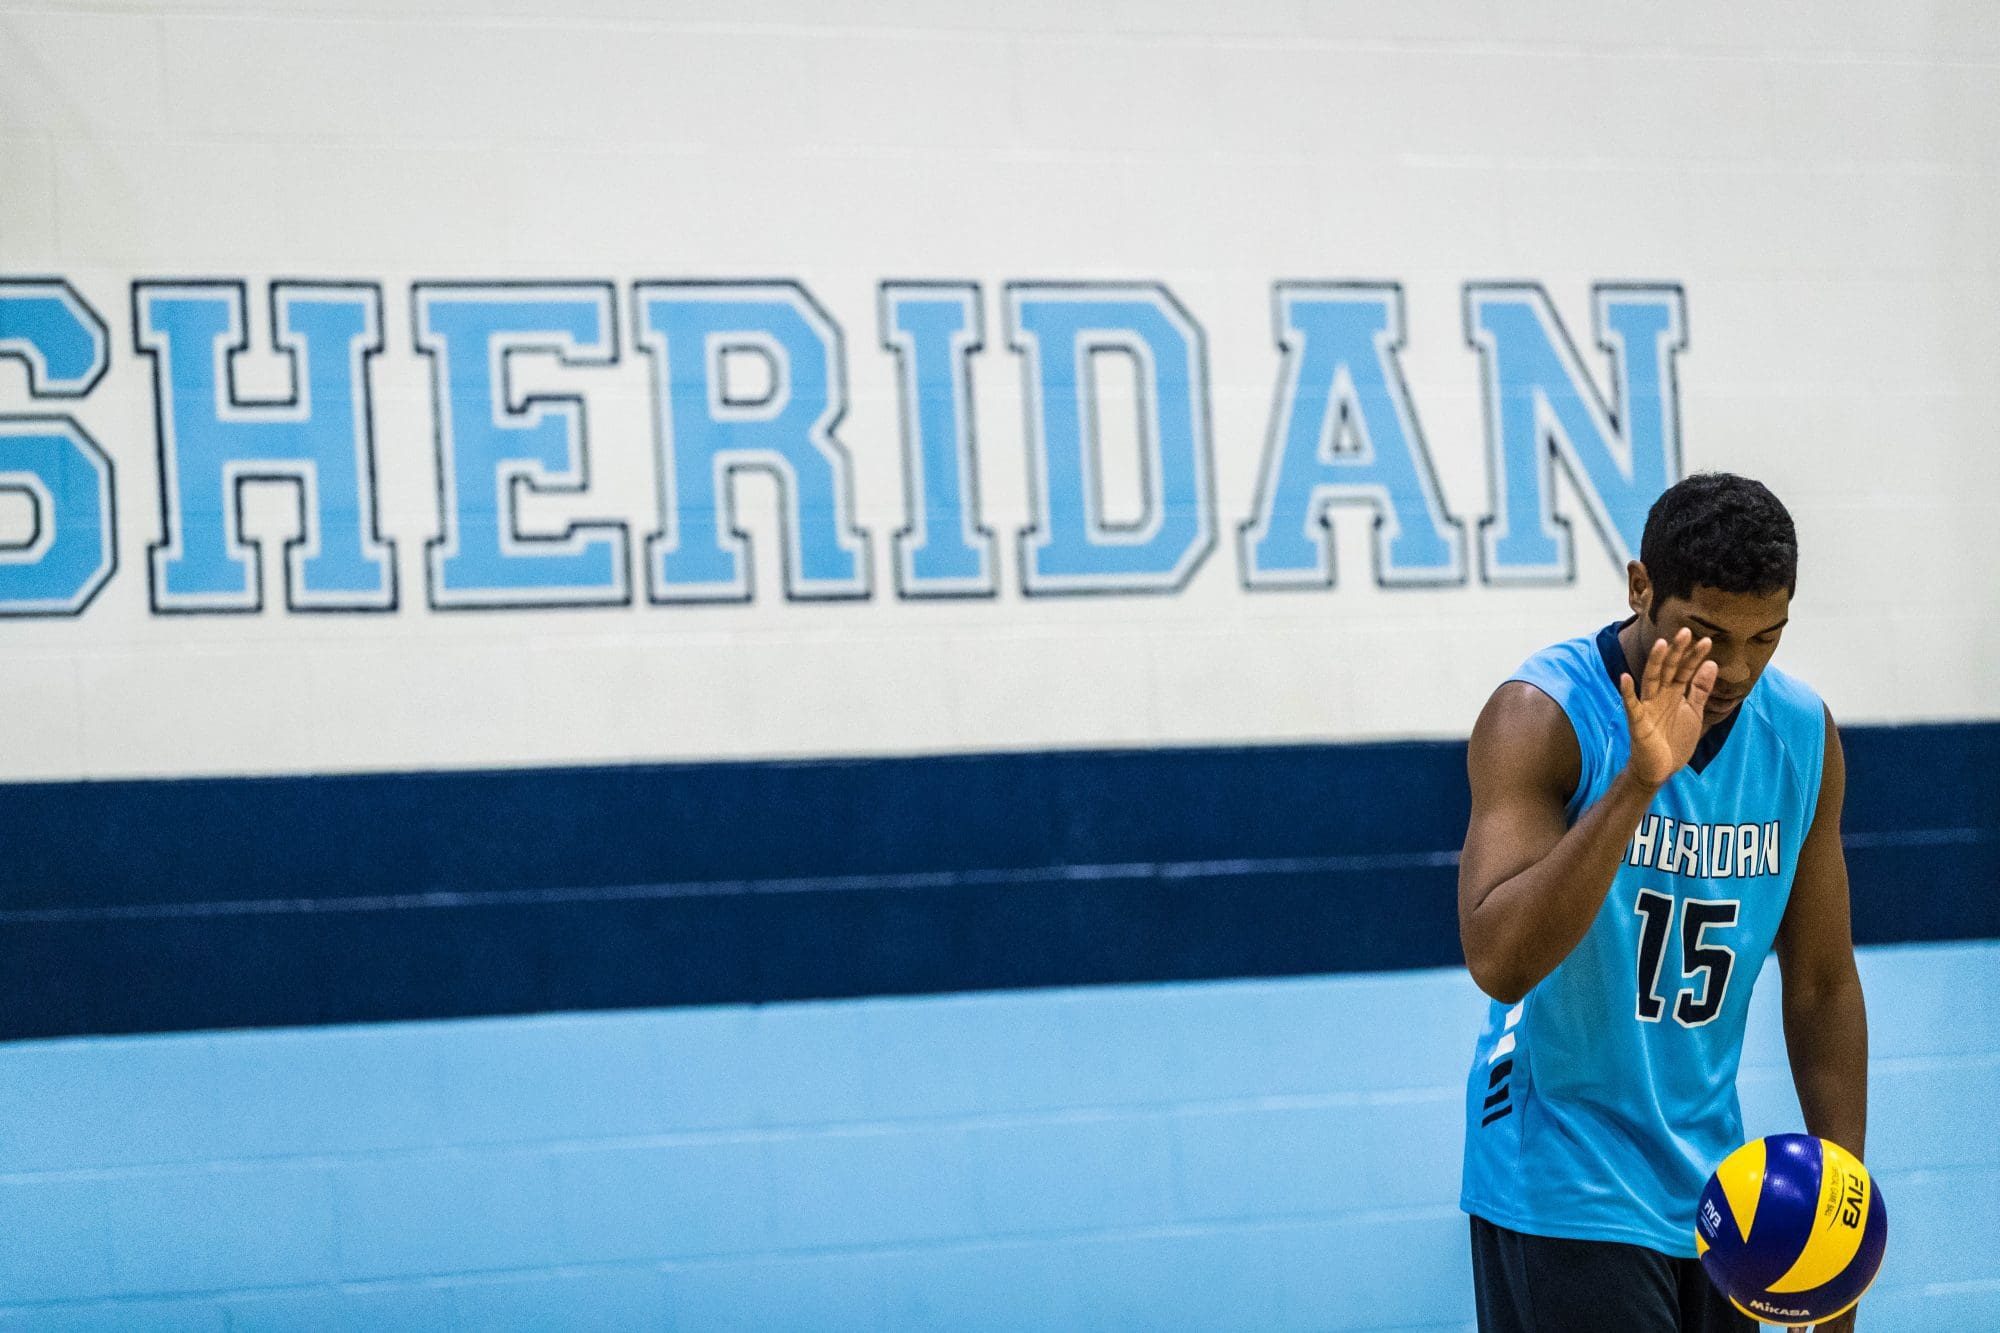
Serve Preparation
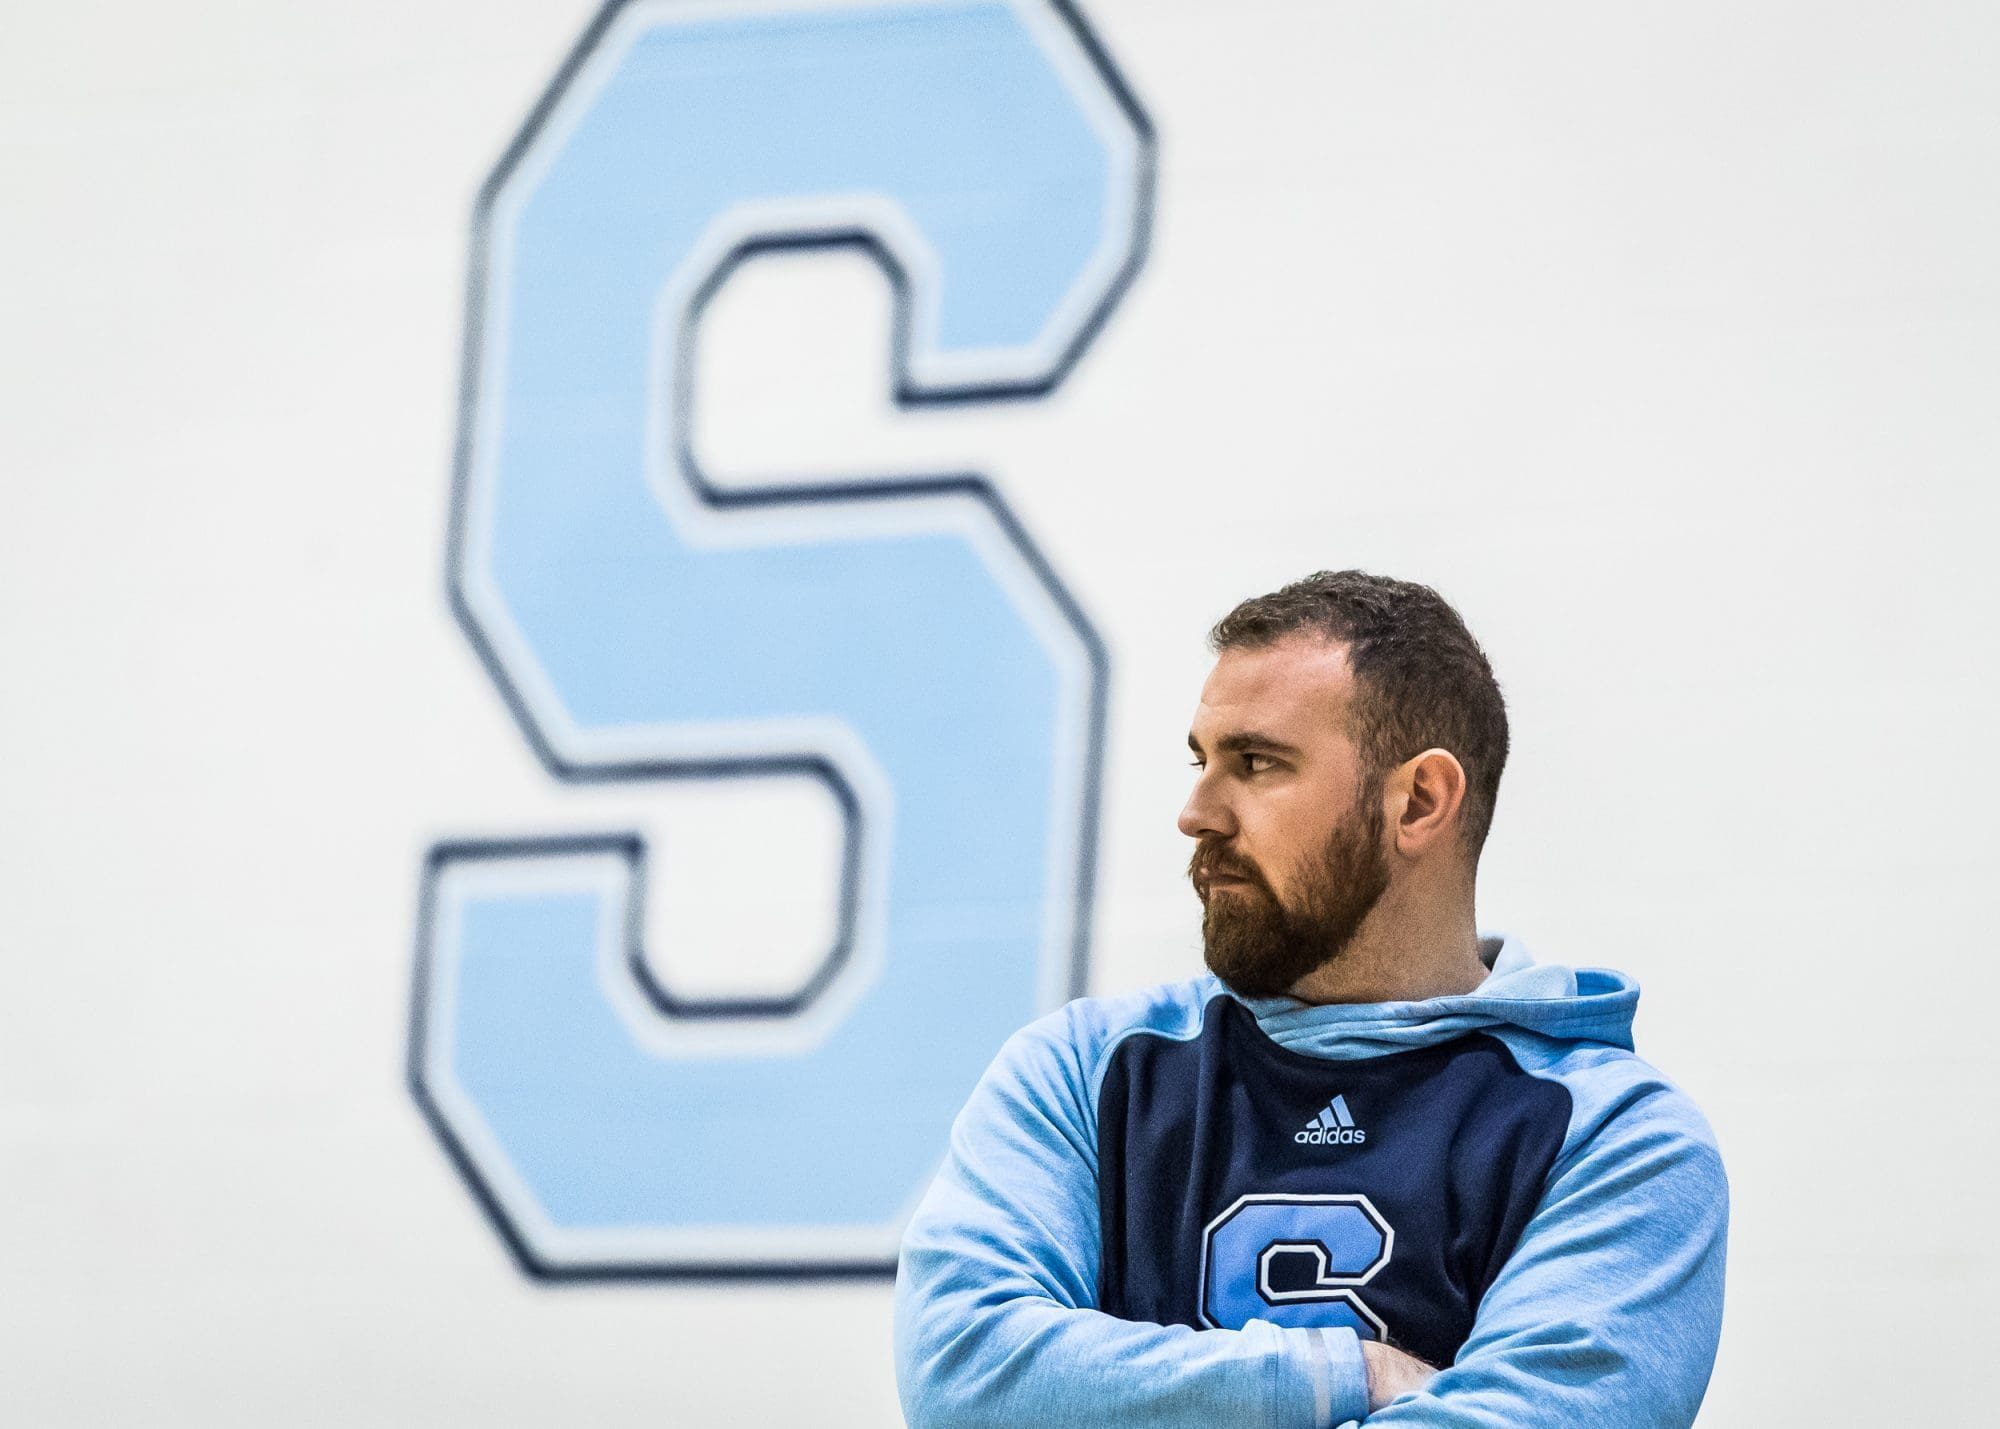
Coach
Team Rituals